Overview
Alluvial supports embedding containerized applications built with frameworks such as RShiny, Streamlit, Angular, and others.
Project administrators can add containerized apps directly to a project. This lets teams deliver custom tools (for example, analytics dashboards or modeling apps) alongside reports and dashboards, all within the same secure, role-based interface.
When developing locally, use Docker or Podman to run and test your container before deployment.
TIP: If you are deciding between User Pages, Static Web Apps, and Containerized Apps, review Choosing the Right App Type.
Getting Started
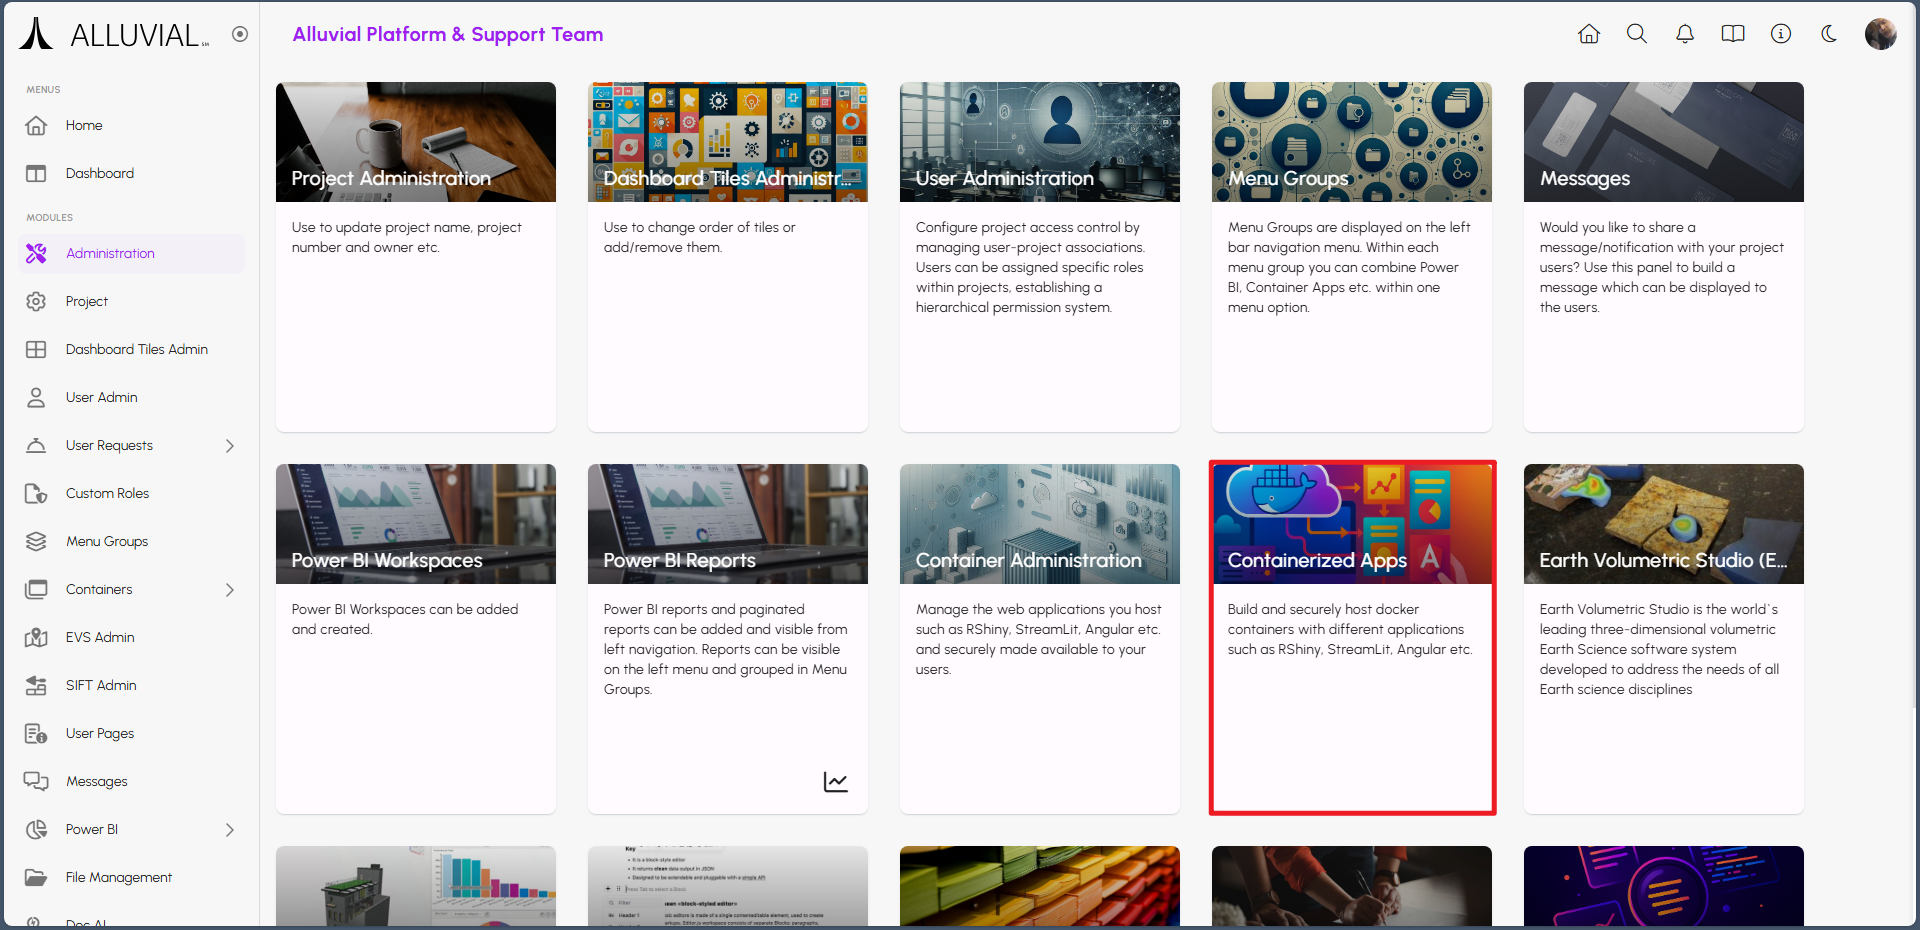
Access Containerized Apps
- Navigate to the administration page in your Alluvial project.
- Select Containerized Apps to open the project's containerized apps search page.
IMPORTANT: Before you deploy anything, plan to coordinate with your organization's Alluvial Platform Administrator. The image name is auto-generated by Alluvial, and images must be pushed to your organization's Alluvial container registry, not a personal registry.
Core Concepts
What Is a Container Application?
A container application packages an app together with its runtime and dependencies into a portable, isolated unit called a container. Alluvial lets authorized users run and interact with these apps inside a project.
Key Features of Container Applications
- Portability – Run consistently across environments (development, testing, production).
- Scalability – Easily deploy multiple instances to handle increased workloads.
- Flexibility – Support applications built with frameworks such as RShiny, Streamlit, Angular, and more.
- Isolation – Each app runs in its own container, minimizing conflicts with other applications.
- Efficiency – Containers are lightweight compared to traditional virtual machines.
Ephemeral Runtime Model
Containerized apps on Alluvial should be treated as ephemeral workloads. A running instance is expected to start, serve requests, stop after inactivity, and start again when needed. You should not assume that a specific container instance will stay alive indefinitely or preserve local state forever.
What this means in practice:
- Applications - Design apps so they can start cleanly and recover gracefully. Avoid relying on in-memory state or files written only inside the container if that information must survive a stop or restart.
- Processing - Avoid long-running or interruption-sensitive work that depends on a single web session staying alive. If processing must continue reliably, persist progress externally or use a separate job or worker pattern.
- Backends - Keep backend services as stateless as possible. Store durable data in external systems such as databases, blob storage, APIs, or File Management, and be prepared to rebuild connections, caches, and runtime state at startup.
Common Tasks
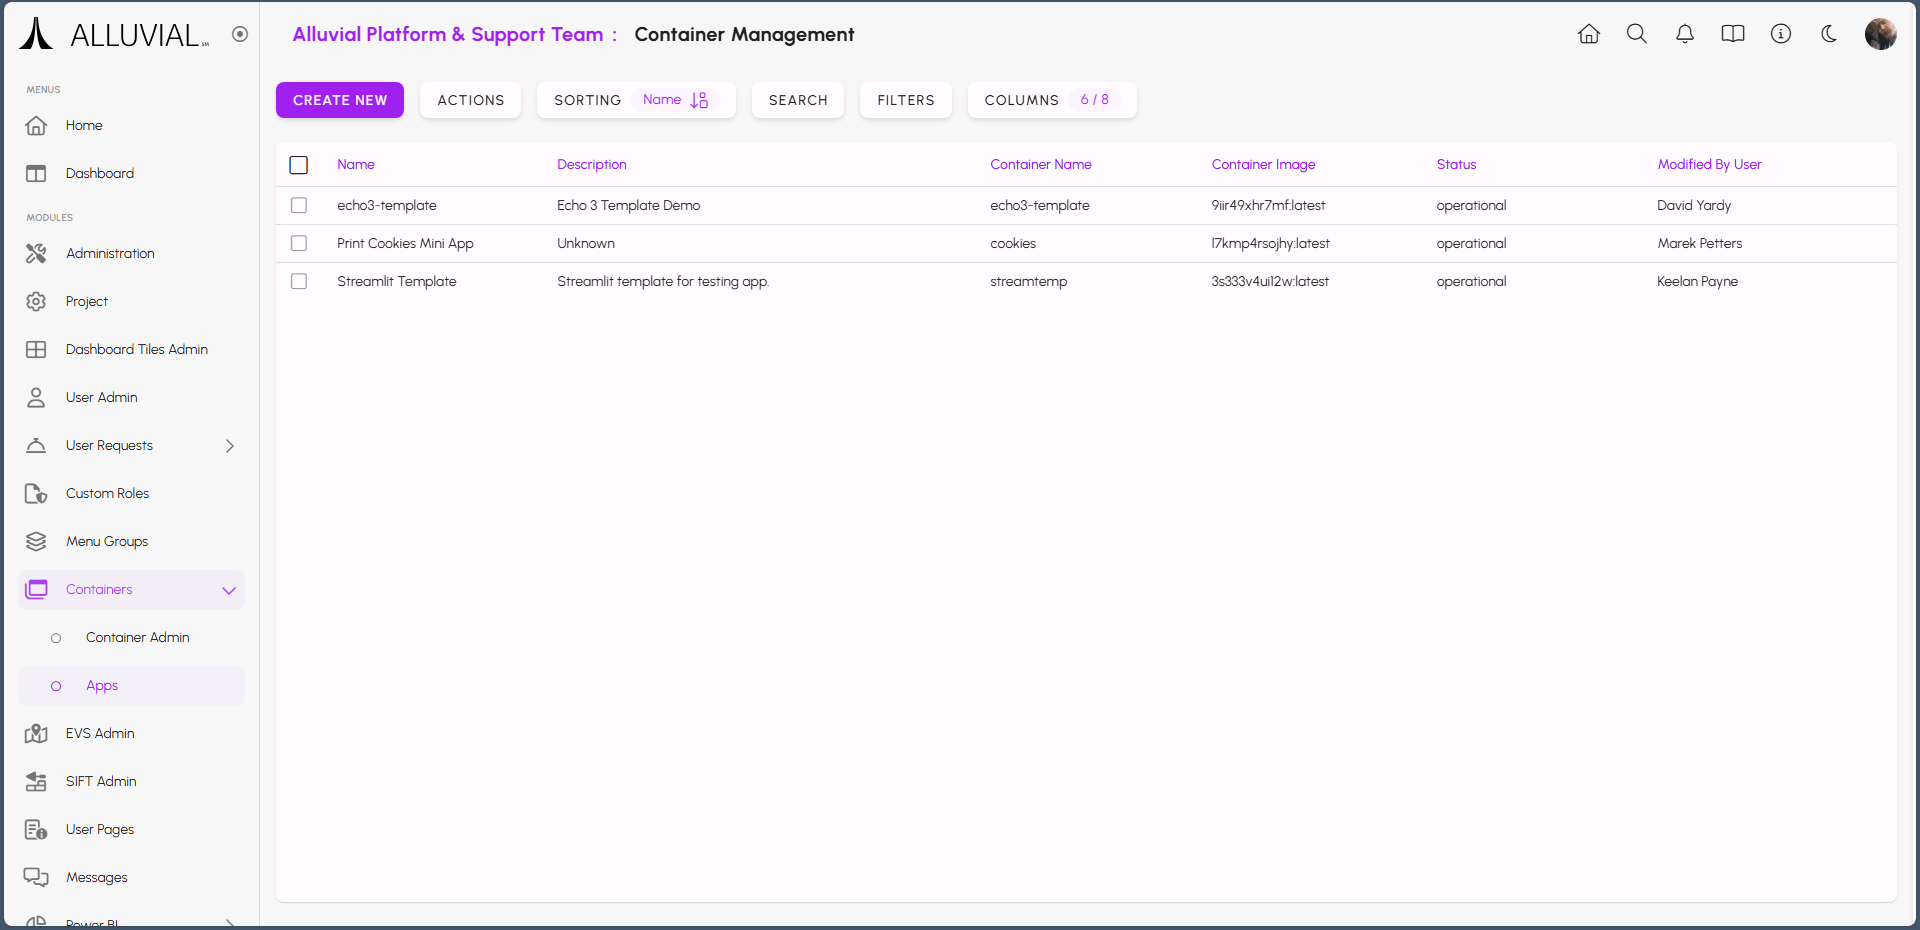
Create a New Containerized App Entry
- If containers are already configured, they will be listed on the search page.
- To add a new containerized application, click CREATE NEW.
- Complete the form.
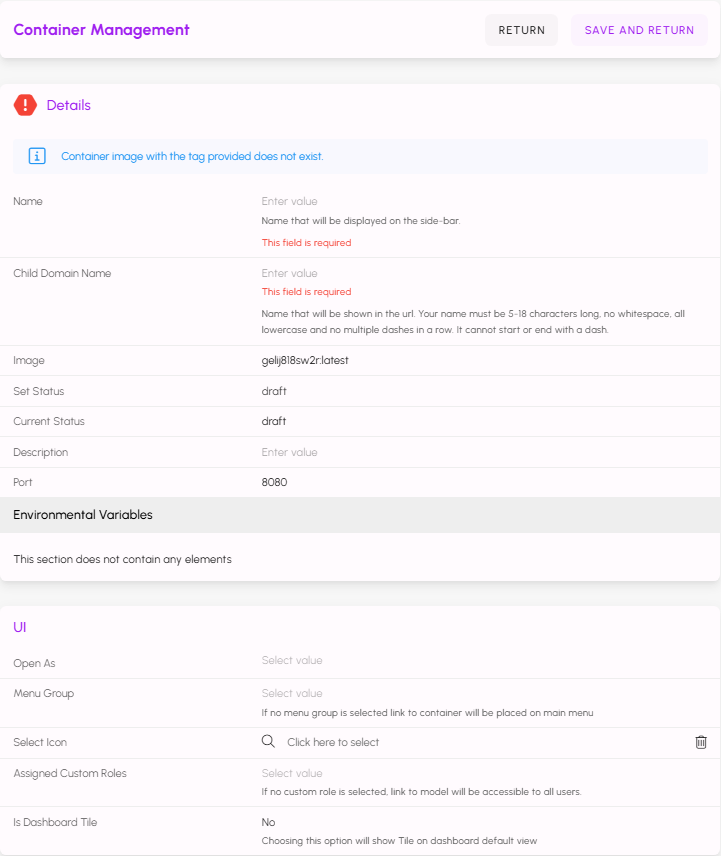
- Name - Display name shown in the project sidebar.
- Child Domain Name - Subdomain shown when the app is opened in a full window (for example, CHILD-DOMAIN-NAME.alluvial.app).
- Image - Auto-generated image name. Use this exact name when tagging and pushing your image to the Alluvial registry.
- Set Status - Used during deployment.
- Current Status - Deployment state: draft, creating, or operational.
- Description - Short description of the app.
- Port - The port your app exposes (must match the container configuration).
IMPORTANT: You cannot change the auto-generated image name. Use that exact name when tagging and pushing your image, and contact your Alluvial Platform Administrator for registry details and pre-configured workflows.
- After entering Name, Child Domain Name, and Port, click SAVE AND RETURN. The entry will appear on the search page with a status of draft.

- Confirm that the new entry appears on the Containerized Apps search page with its Status set to draft.
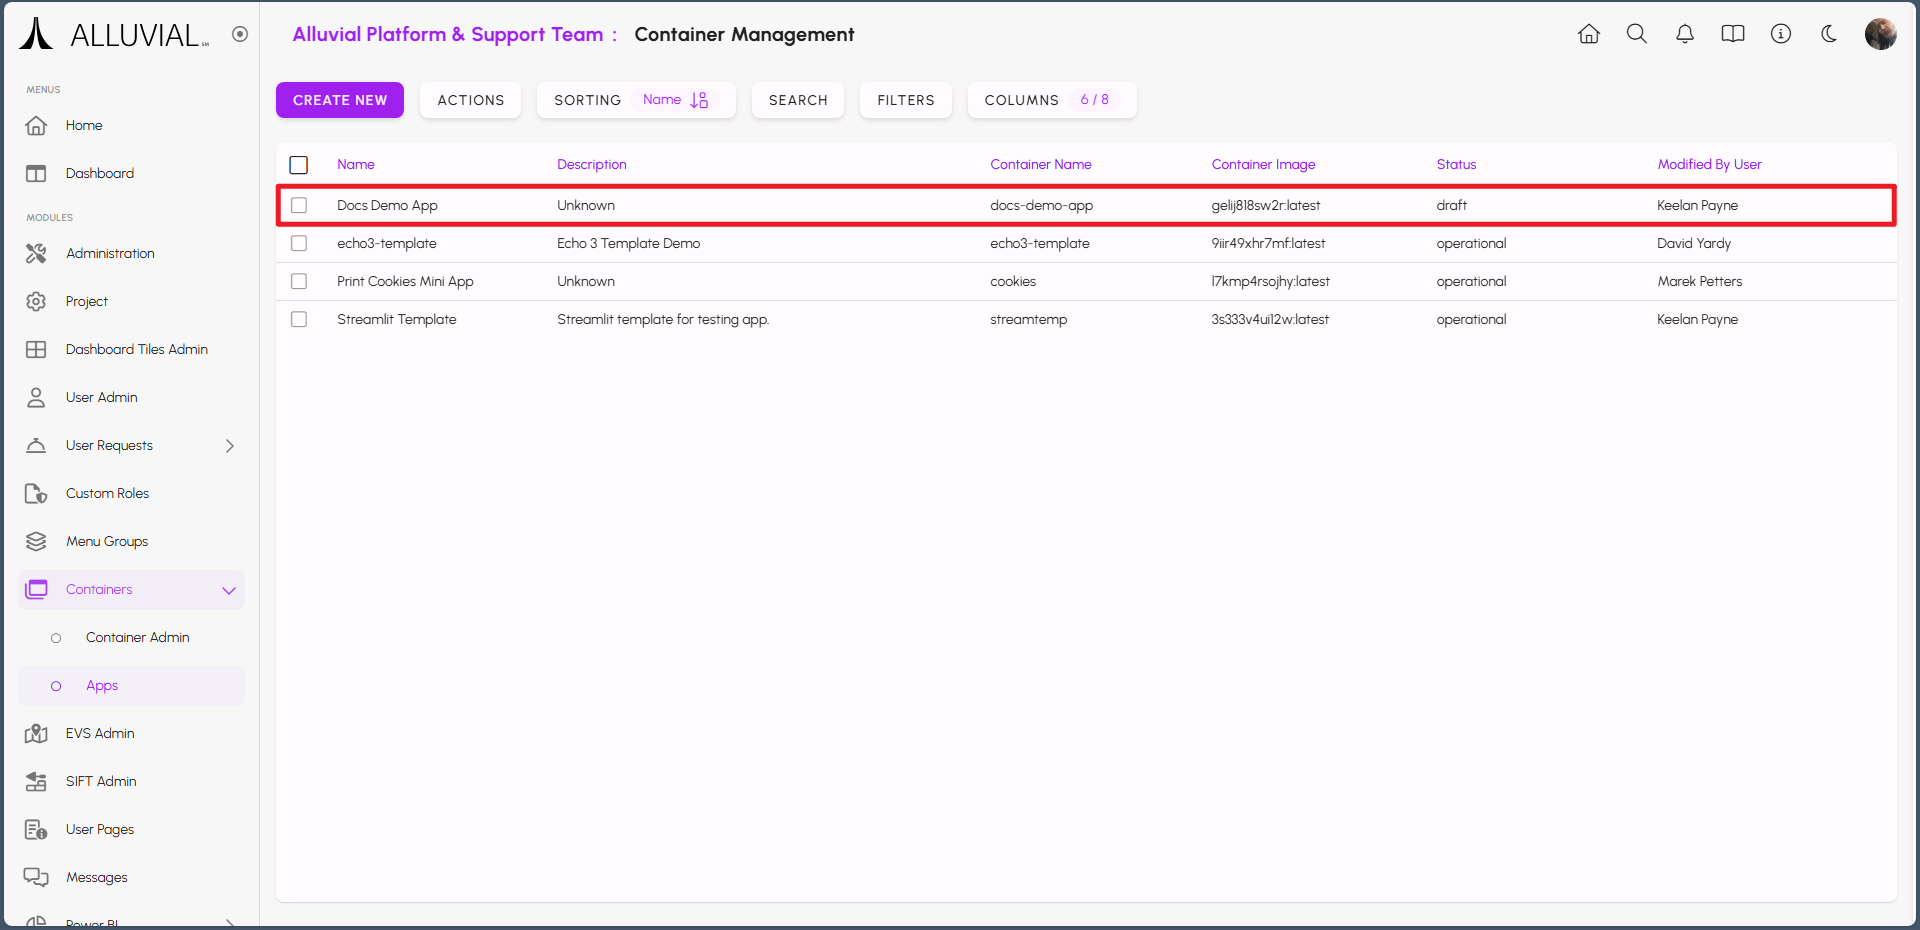
- Reopen the entry and make note of the auto-generated value in the Image field.

Configure Environment Variables
- If your application uses environment variables, hover over the Environmental Variables bar to display the add icon, then click it to create a new variable.

- Hover over the box that appears and click the drop-down arrow.

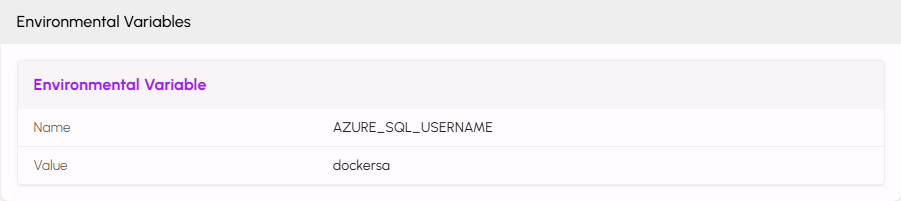
- Enter the Name and associated Value for your variable.
IMPORTANT: The way these variables are accessed depends on the language your application uses. For example:
- Python:
os.environ.get("AZURE_SQL_USERNAME")- R:
Sys.getenv("AZURE_SQL_USERNAME")- C#:
Environment.GetEnvironmentVariable("AZURE_SQL_USERNAME")
- Repeat this process for each variable used in your application.
IMPORTANT: Project Owners and Administrators should be cautious when granting administrative privileges related to containers. Environment variables may be visible to users with sufficient project access.
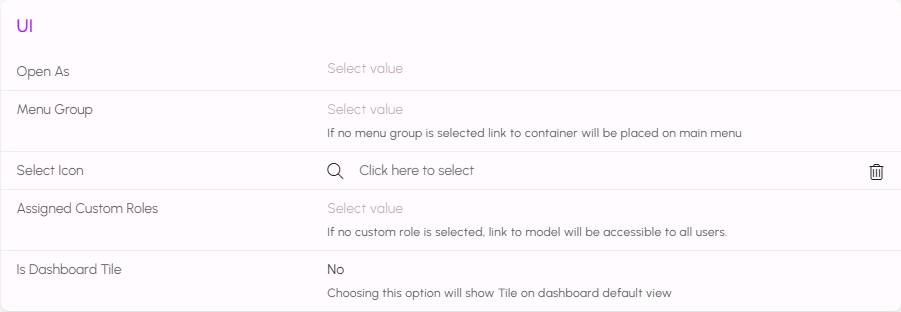
Configure Menu and Launch Options
Scroll down the form further to configure other options, such as Menu Groups, Custom Roles, and Dashboard Tiles.
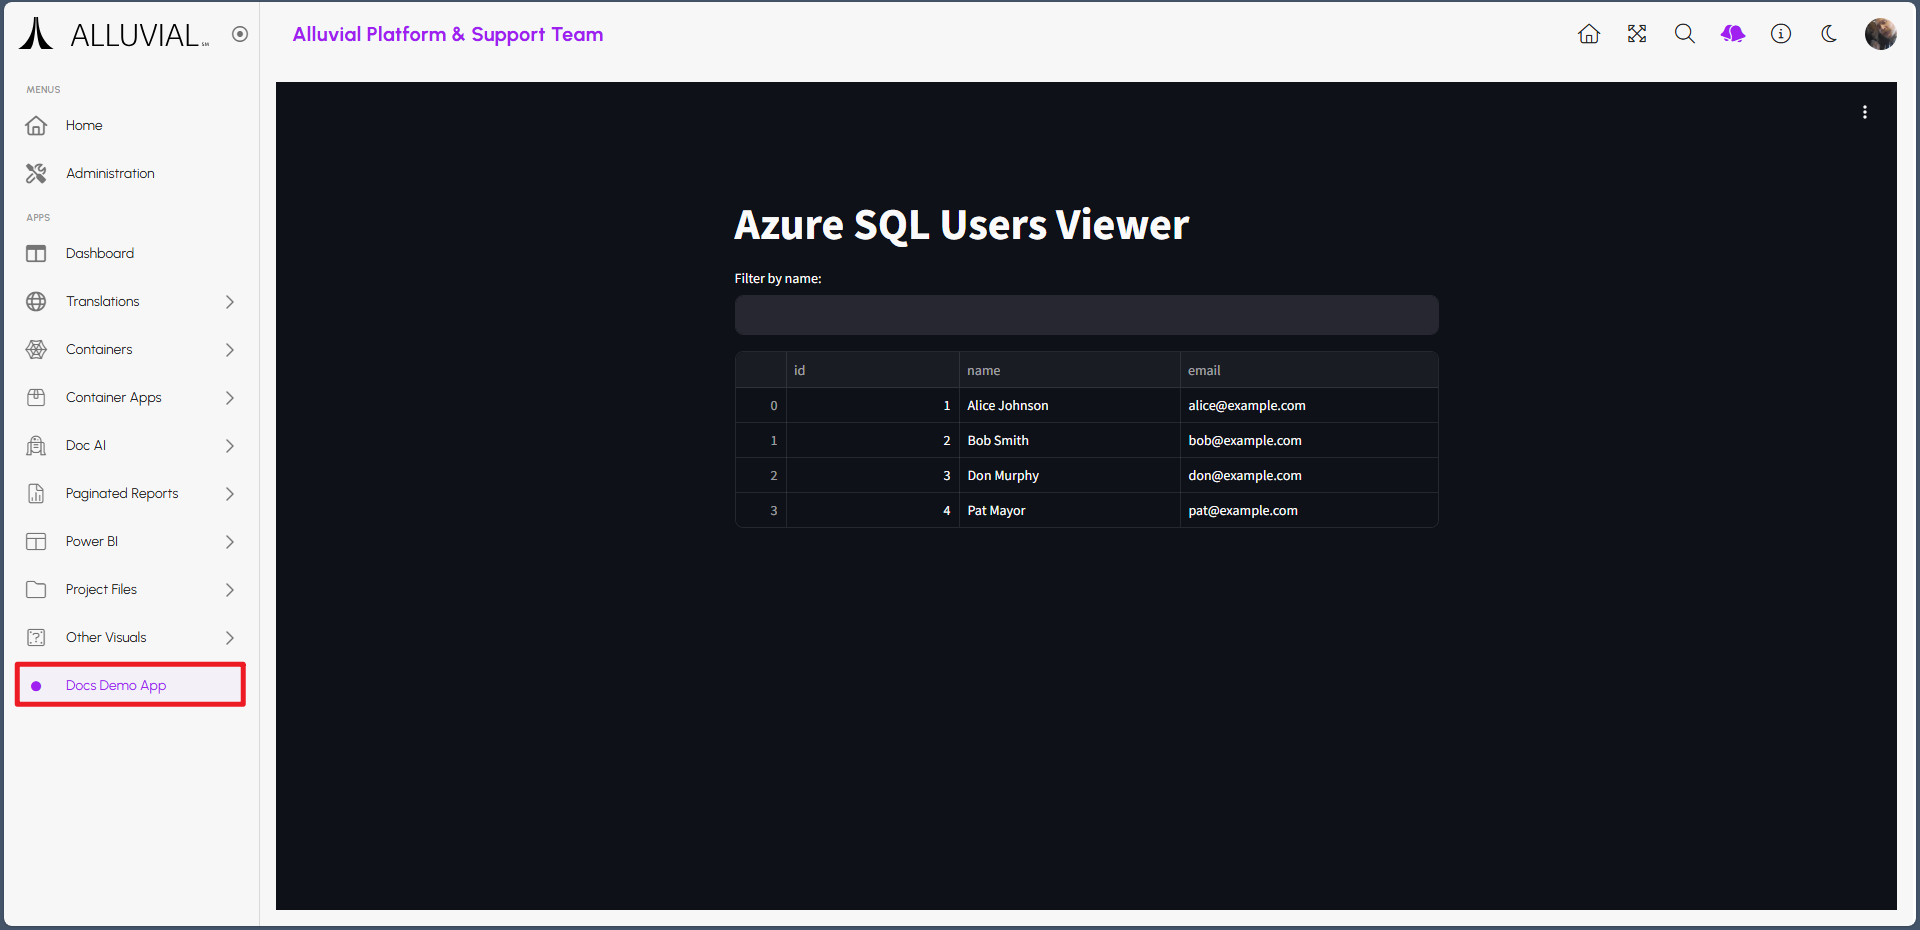
The Open As field will let you set how your application will open when a user selects it in the Alluvial project. The iframe value will open the application directly in Alluvial. The new-window option will open a new browser window and display the application using the Child Domain Name that was previously set.
Click SAVE AND RETURN to finalize your changes.
Deployment
In most cases, your organization's Alluvial Platform Administrator will have templates that include pre-configured workflows that automatically push your application into the designated Alluvial image repository.
For example, your organization may be using GitHub to push your application code into an image repository. It's common to have a shared workflow in place that is called by another workflow located within your own application repository.
Build and Push the Image
A shared workflow might look like this:
name: Deploy to ACR

on:
  workflow_call:
    inputs:
      image_name:
        description: "Image name to tag and push"
        required: true
        type: string
      dockerfile:
        description: "Path to the Dockerfile"
        required: true
        type: string
    secrets:
      ALLUVIAL_CA_SERVER:
        required: true
      ALLUVIAL_CA_USERNAME:
        required: true
      ALLUVIAL_CA_PASSWORD:
        required: true

permissions:
  contents: read

jobs:
  build:
    runs-on: ubuntu-latest
    steps:
      - uses: actions/checkout@v4

      - name: Docker Login
        uses: azure/docker-login@v2
        with:
          login-server: ${{ secrets.ALLUVIAL_CA_SERVER }}
          username: ${{ secrets.ALLUVIAL_CA_USERNAME }}
          password: ${{ secrets.ALLUVIAL_CA_PASSWORD }}

      - name: Get timestamp
        id: timestamp
        run: echo "timestamp=$(date +'%Y%m%d-%H%M%S')" >> $GITHUB_ENV

      - name: Build and push image
        run: |
          docker build . -f ${{ inputs.dockerfile }} \
            -t ${{ secrets.ALLUVIAL_CA_SERVER }}/${{ inputs.image_name }}
          docker push ${{ secrets.ALLUVIAL_CA_SERVER }}/${{ inputs.image_name }}
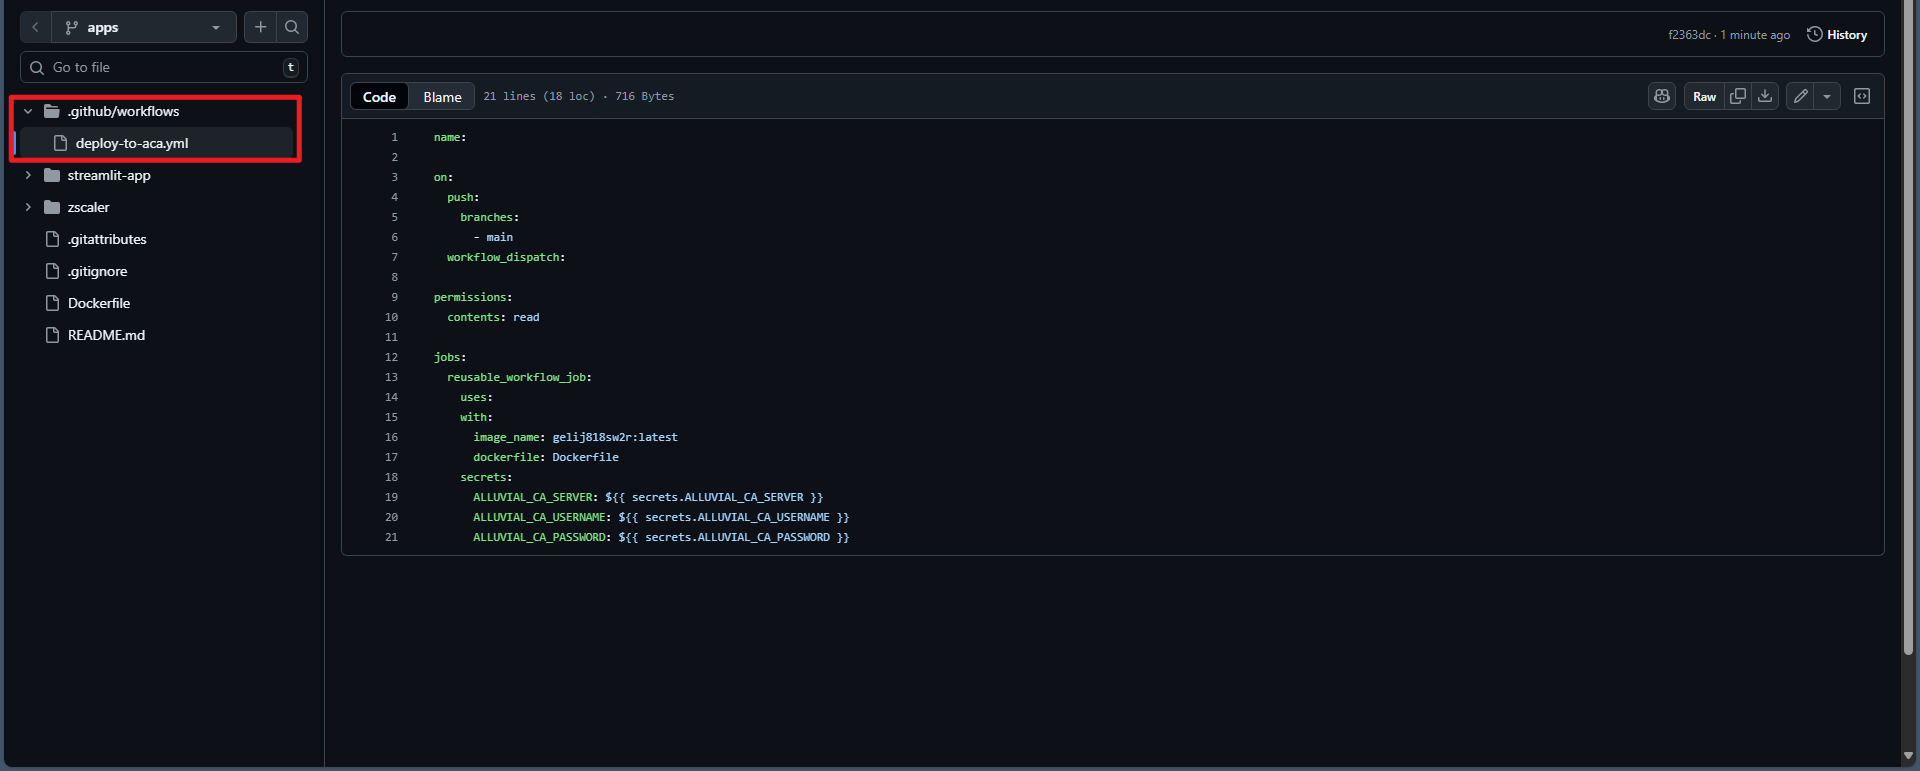
That shared workflow could then be called by another workflow in your own repository, which could look like this:
name: Deploy to ACR

on:
  push:
    branches:
      - main
  workflow_dispatch:

permissions:
  contents: read

jobs:
  reusable_workflow_job:
    uses: My-Organization/Shared-Workflows/.github/workflows/deploy-to-aca.yml@main
    with:
      image_name: gelij818sw2r:latest
      dockerfile: Dockerfile
    secrets:
      ALLUVIAL_CA_SERVER: ${{ secrets.ALLUVIAL_CA_SERVER }}
      ALLUVIAL_CA_USERNAME: ${{ secrets.ALLUVIAL_CA_USERNAME }}
      ALLUVIAL_CA_PASSWORD: ${{ secrets.ALLUVIAL_CA_PASSWORD }}
In the workflow text above, you will notice the image_name: gelij818sw2r:latest corresponds with the auto-generated image name created earlier.
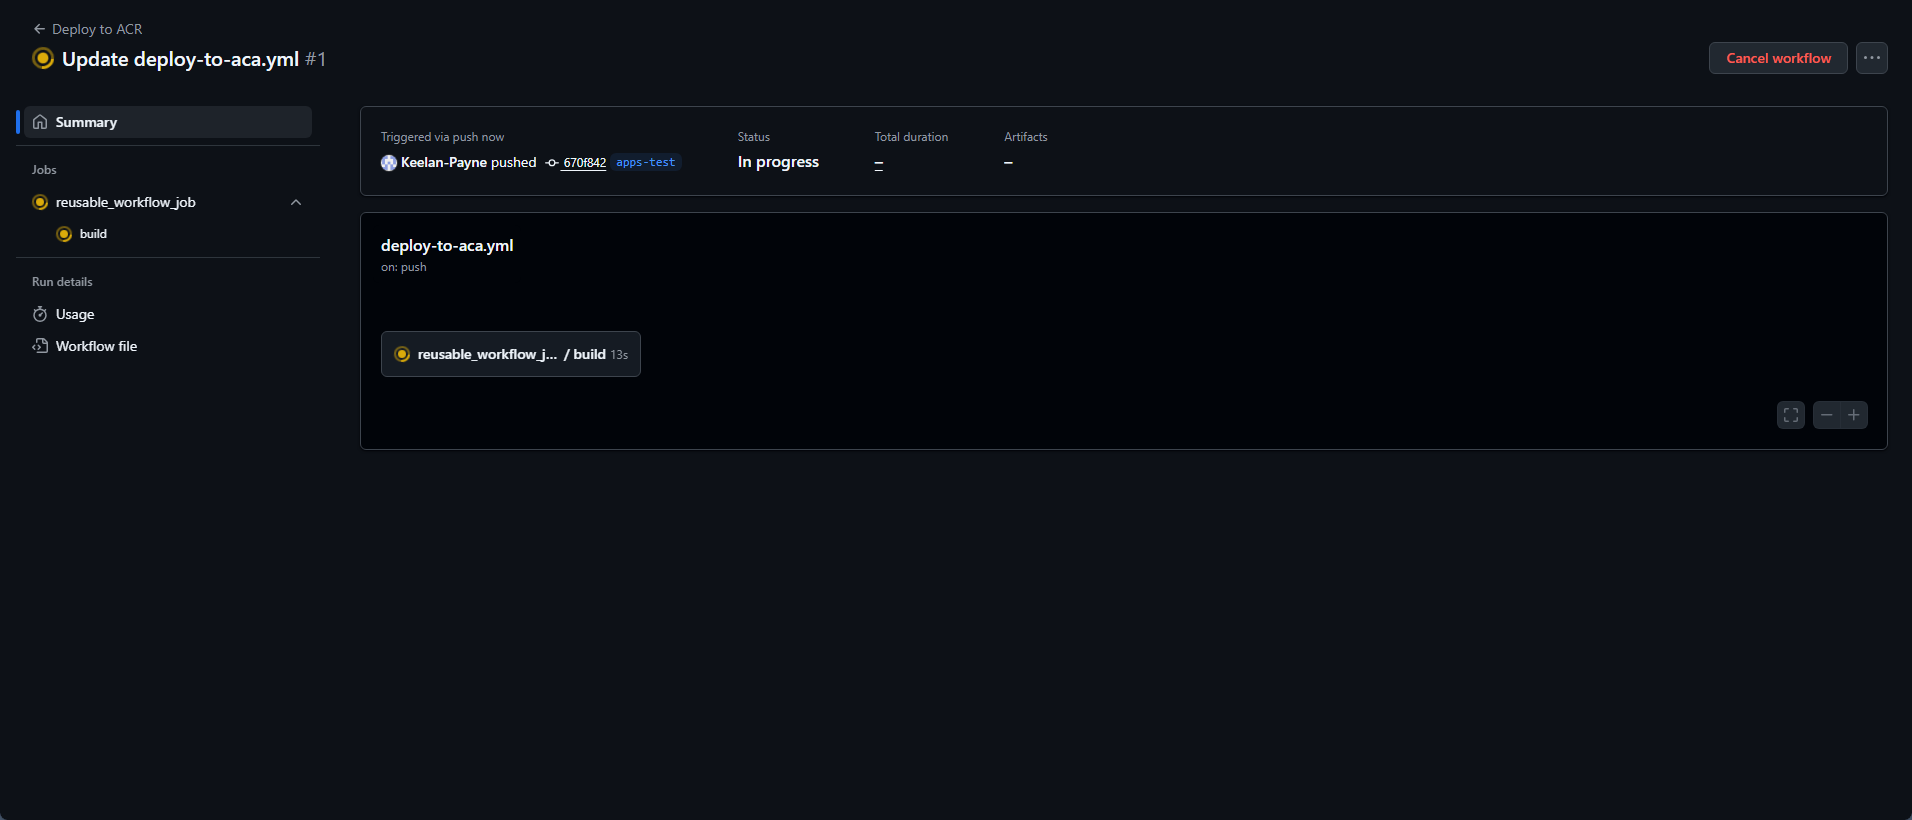
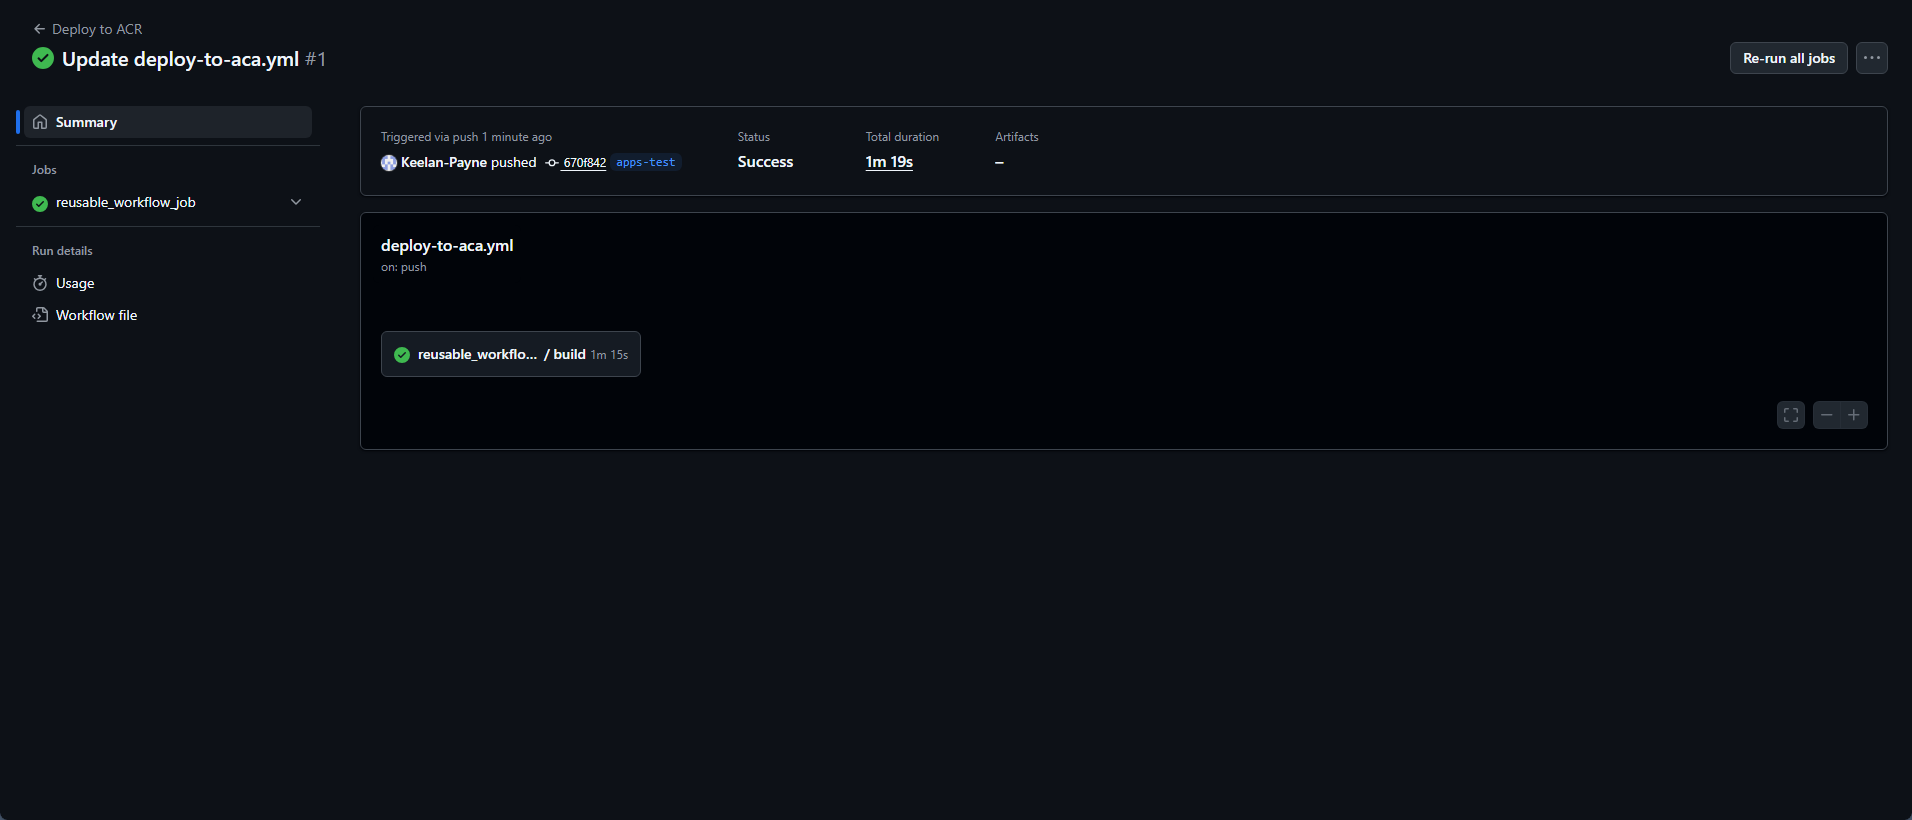
Once you push a change to your application repository, the workflow should start if it is configured correctly.
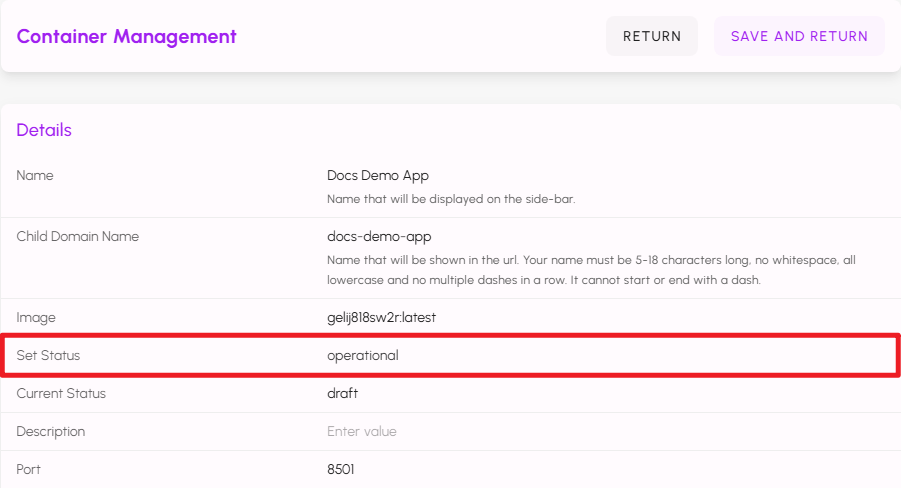
Mark the App Operational
After a successful push, return to the Containerized Apps entry in Alluvial, set the status to operational, and click SAVE AND RETURN.
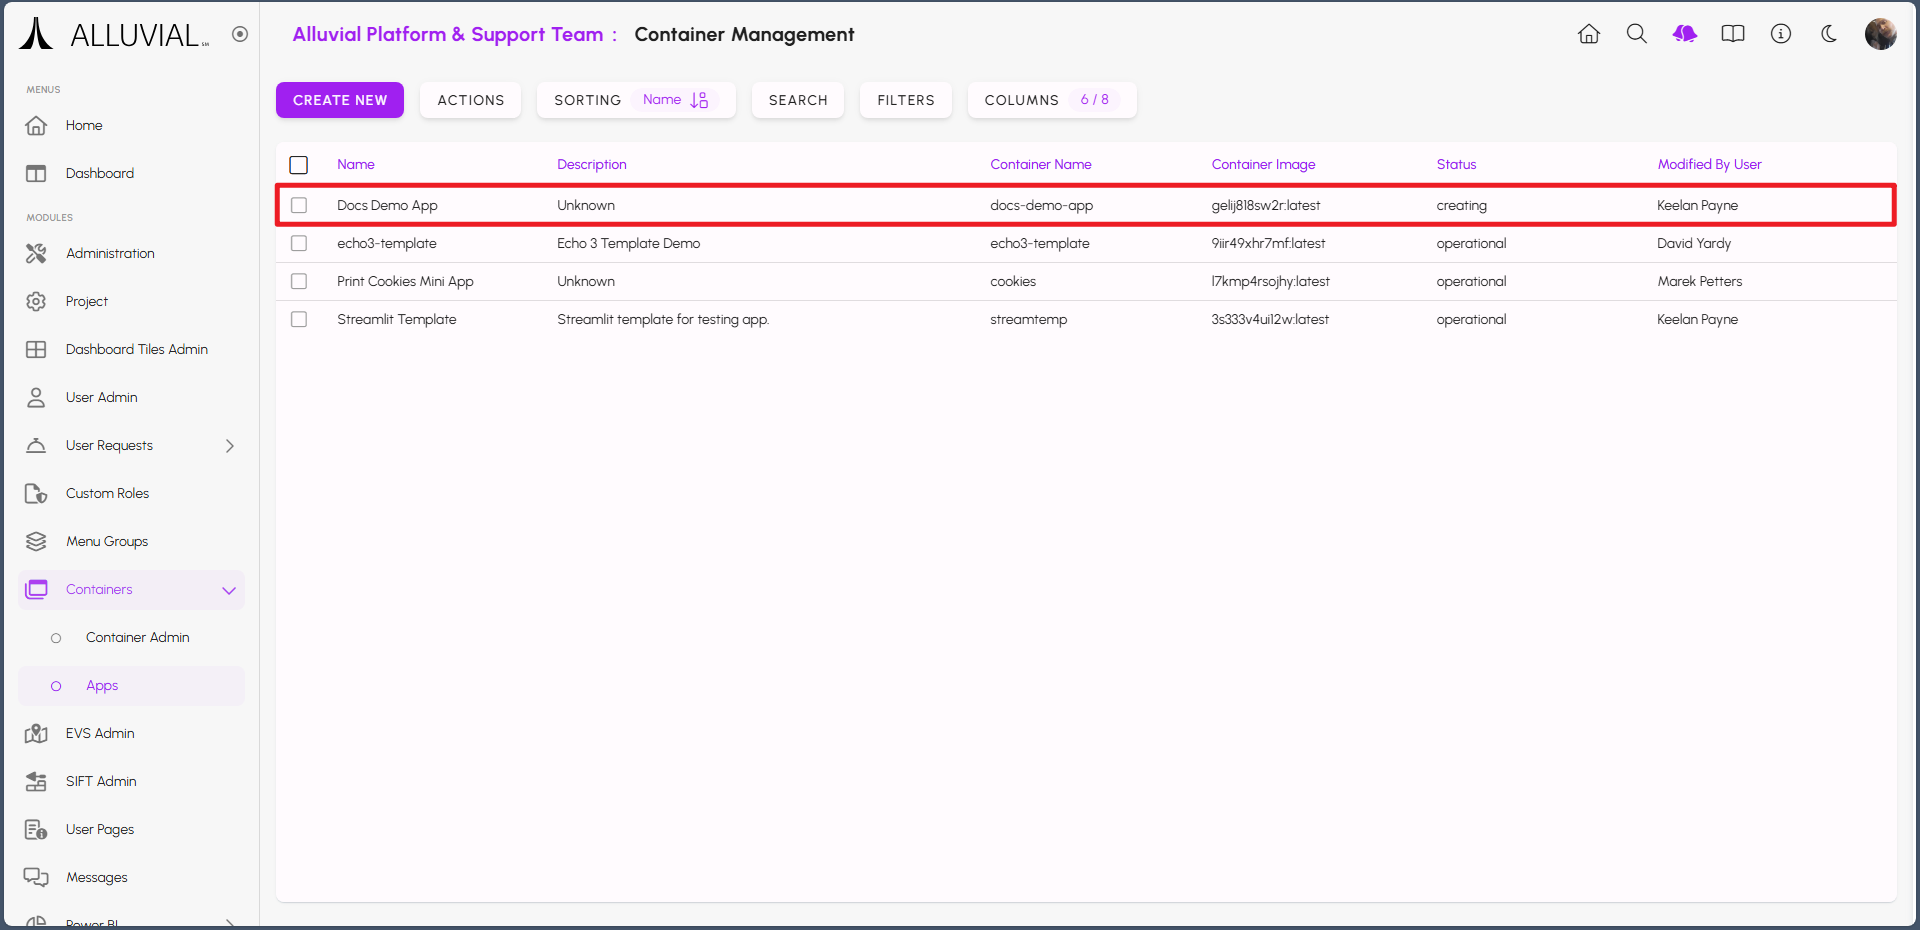
The status of the entry will change to creating.
When your application is ready, the status will change to operational. Refresh the page to observe the change when it occurs.
If you navigate back to your project Dashboard page, you may notice that your application is not visible immediately. Do not worry, the application is still starting up.
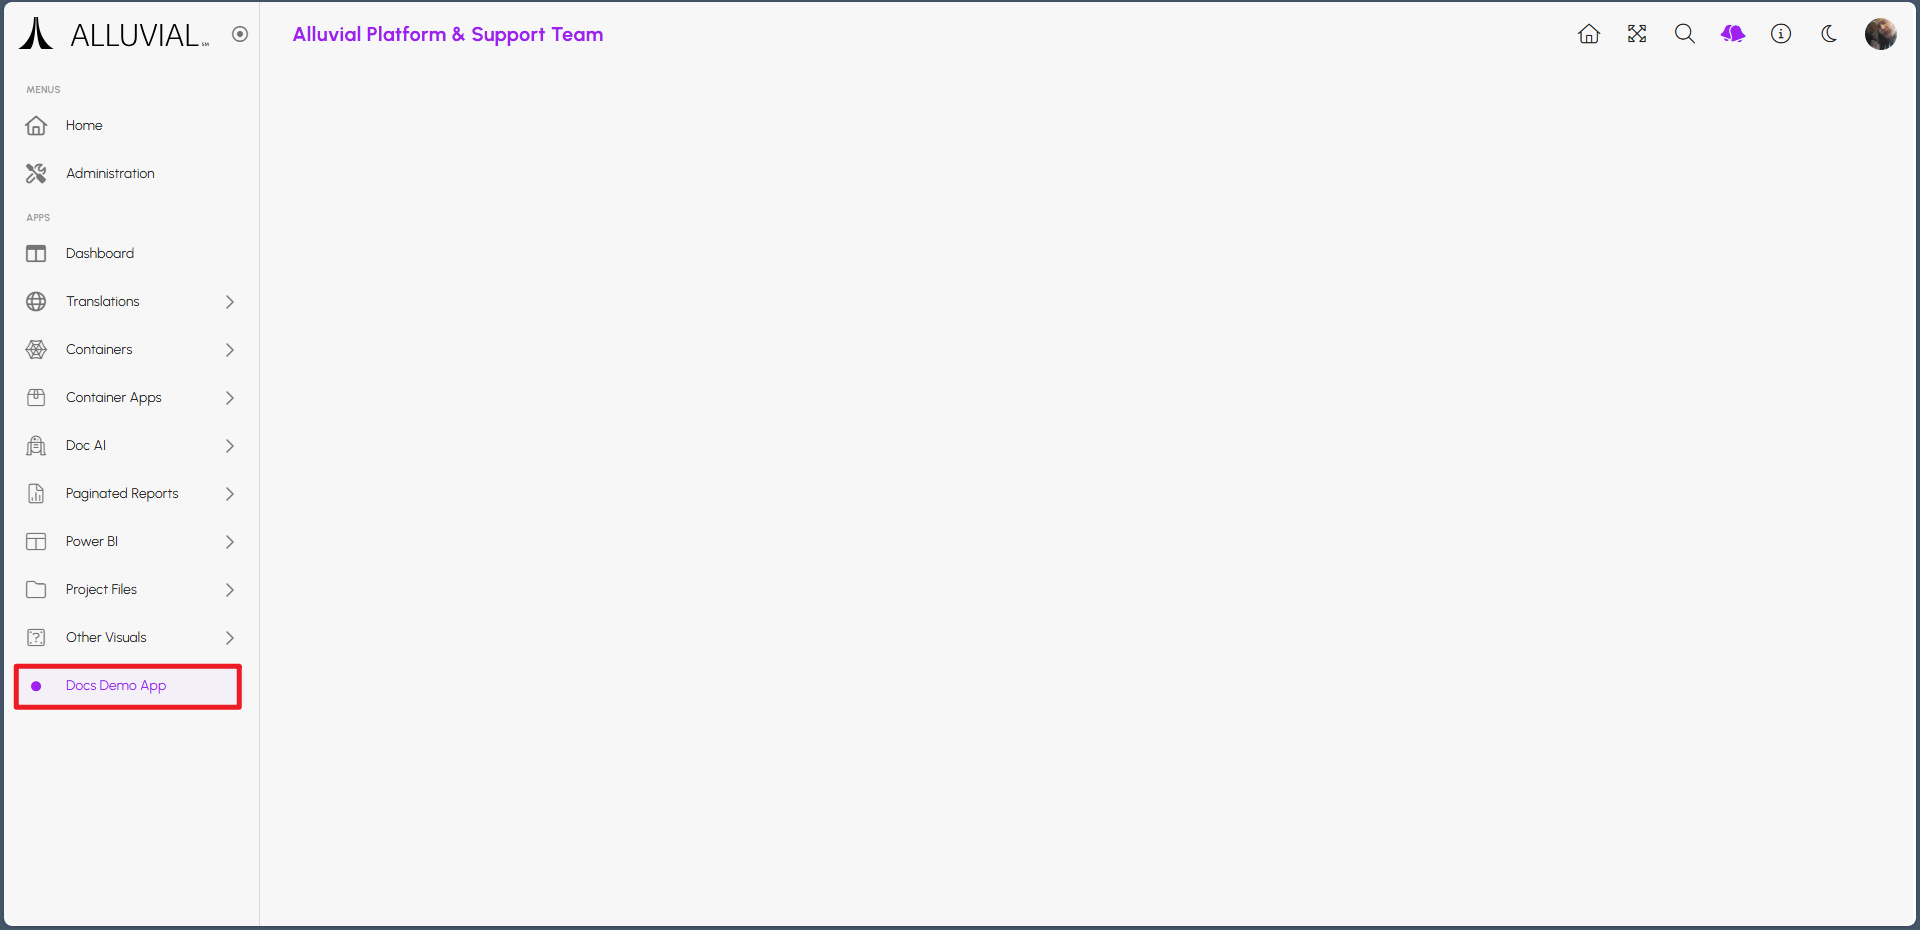
After a short while, your application should become visible. The time it takes for an application to start will depend on the size and complexity of the application itself.
IMPORTANT: By default, your application will stop after four hours of inactivity. It will require time to start again when users return. This time limit can be overridden by your Alluvial Platform Administrator. It is also possible to remove the time limit entirely, but it may be asked that your project cover the additional costs incurred. This behavior reinforces the ephemeral runtime model, so do not rely on container-local files, in-memory state, or active processes to persist after the app stops.
Configuration Updates
If you need to change the Port or add, remove, or modify any of the Environment Variables for your application, first set the status to draft and click SAVE AND RETURN. Navigate back to the application's configuration, make the changes, and then set the status back to operational and click SAVE AND RETURN again.
If your application was already running, you will need to trigger a restart to apply the changes.
Runtime Management
Resource Allocation
By default, each containerized application is allocated 0.25 CPU and 0.5Gi RAM. While this might seem minimal, it is generally sufficient for most lightweight applications.
If your application requires more resources, contact your organization's Alluvial Platform Administrator, who can override these defaults on a per-application basis. The Alluvial Platform Administrator can also monitor application performance and adjust resources as needed to ensure optimal operation.
Your Alluvial Platform Administrator may ask for details about your application's resource requirements and for justification for any increases. It's important to provide accurate information to help them make informed decisions about resource allocation.
It's recommended to run performance tests by using resource constraints locally before requesting changes. This helps identify the actual needs of your application and ensures that it runs efficiently within the allocated resources. It also helps to provide evidence to support your request for increased resources.
The official Docker documentation provides guidance on how to set resource constraints when running containers locally.
Update or Restart the Application
Updating and restarting are related. To update an application, change the code in your repository and run your continuous integration workflow to build and push a new image.
If the app is idle, the new image will be used the next time it starts. If the app is active and you need the update immediately, trigger a restart from the Containerized Apps search page entry.
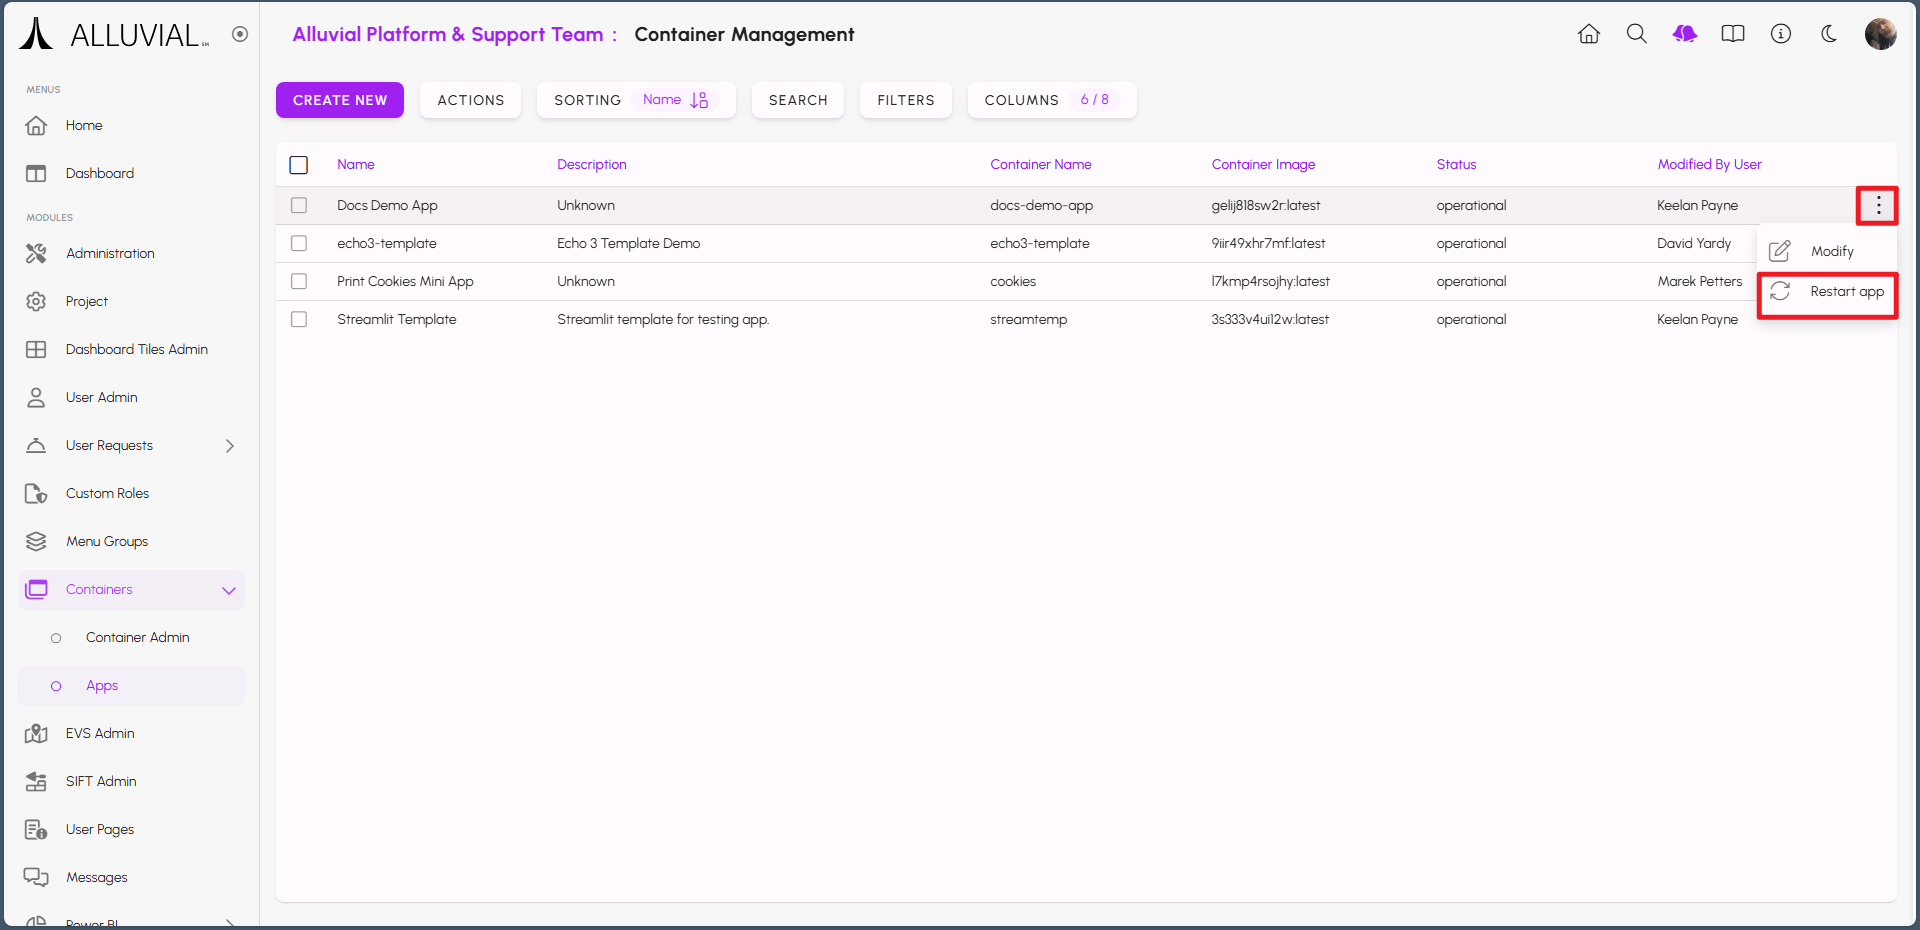
IMPORTANT: Triggering a restart while your application is actively being used may disrupt current users.
Additional Functionality
Container Development
Reach out to your organization's Alluvial Platform Administrator for application templates and pre-configured workflows to assist with development and deployment.
Please submit a request through the support site to contact your organization's Alluvial Platform Administrator.
Connecting Containers to File Management
Before you get started, you will need to upload data to your project through the File Management module. The following information demonstrates how to connect a container application to this data.
While this uses the R Shiny framework in the example, the underlying logic can be used regardless of your chosen development framework.
Copy a SAS Token URL
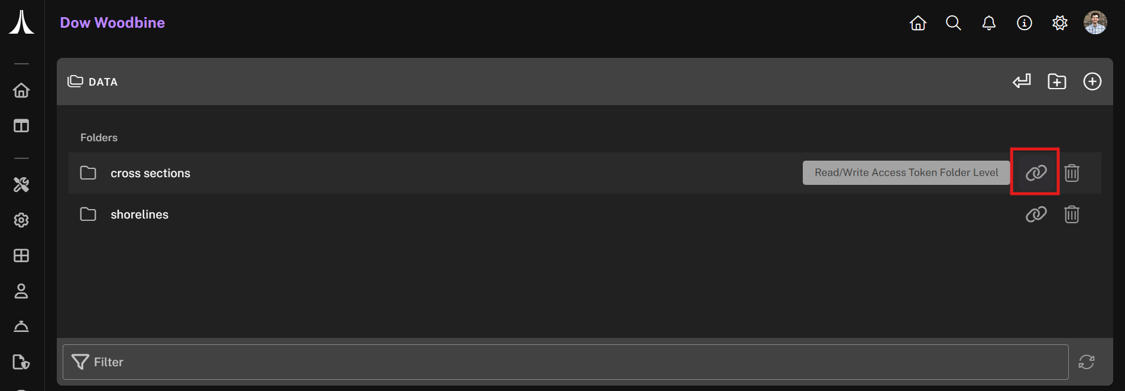
After uploading files to the File Management module, navigate to the desired directory. Hover over the folder name to display the tooltip “Read/Write Access Token Folder Level”, then copy the Read Access Token for that folder.
IMPORTANT: Copying the token at the file level will only grant access to that file, not the entire directory.
The generated URL will resemble:
https://<STORAGE_ACCOUNT>.blob.core.windows.net/appstor/<PROJECT_ID>/fileManagement/data?sv=2025-01-05&st=2025-06-08T16%3A04%3A32Z&se=2025-09-07T16%3A04%3A32Z&sr=d&sp=racwdlme&sdd=3&sig=PBMaYisrg6T77TLJ1sx%2F0itEvB9Vo6TJii85YbN8OZg%3D
The key URL components are:
- Azure Storage URL:
https://<STORAGE_ACCOUNT>.blob.core.windows.net - Azure Container Name:
appstor - Alluvial Directory Path:
<PROJECT_ID>/fileManagement/data - SAS Token:
sv=...&sig=...
The SAS token is temporary and should be treated securely:
- Do not commit it to source control (e.g., Git).
- Store it locally in a gitignored
.envfile. - In GitHub, store it as a repository secret.
- In production, use an environment variable in the Azure Web App.
For more details on SAS token structure and usage, refer to Create a service SAS - Azure Storage.
Connect an R Shiny Application
Use the following R code to connect your R Shiny application to the Azure storage directory:
az_endpoint <- AzureStor::storage_endpoint(
  "https://<STORAGE_ACCOUNT>.blob.core.windows.net",
  sas = Sys.getenv("AZ_SAS_TOKEN")
)

az_container <- AzureStor::storage_container(az_endpoint, "appstor")

AzureStor::list_blobs(az_container, "<PROJECT_ID>/fileManagement/data")
This returns a list of blobs in the specified directory. Typical usage includes AzureStor::(multi)download_blob and AzureStor::(multi)upload_blob for transferring files. Using smaller files will generally result in a faster user experience.