Overview
File Management in Alluvial allows project administrators to:
- Organize and store project files in structured directories
- Upload and manage documents, data, or media
- Generate secure temporary links for external sharing
This feature is useful for tasks such as linking repository-stored data to a report or sharing resources across a project.
Getting Started
Access File Management
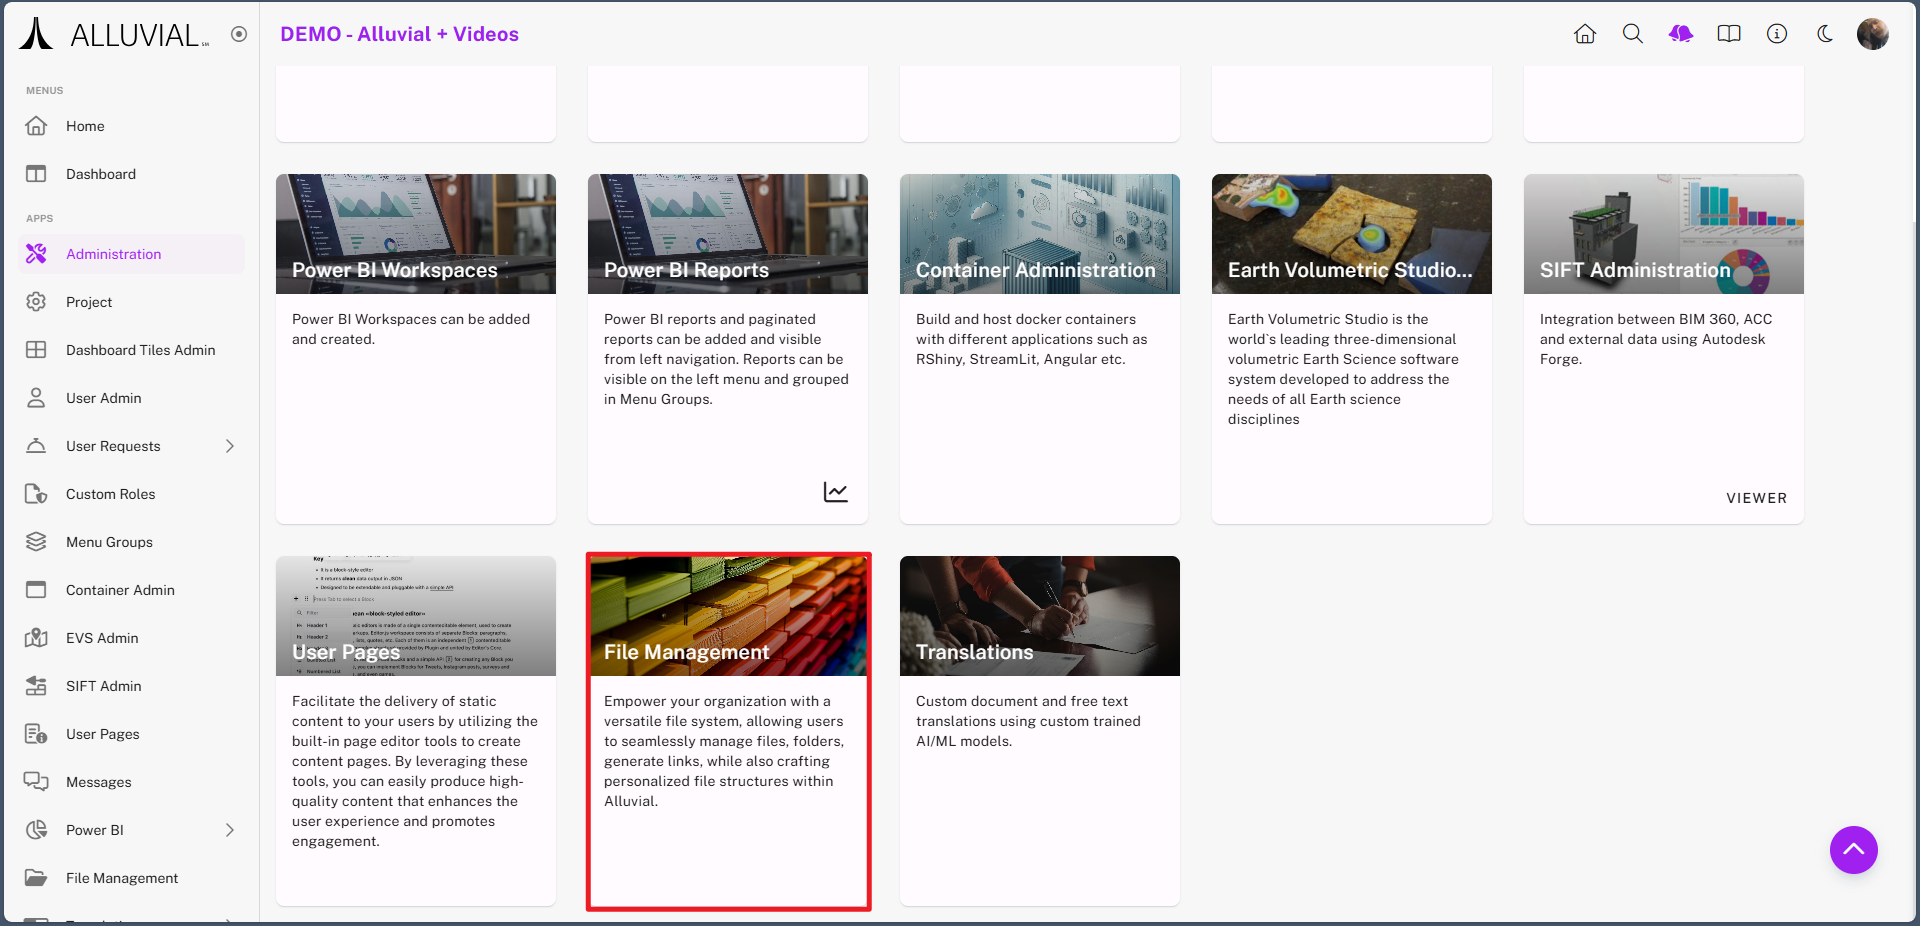
- Navigate to your project’s administration page.
- Click File Management to open the file management view.
Core Concepts
Directories and Subdirectories
File Management organizes content into directories and subdirectories so files can be grouped in a predictable structure.
File-Level vs. Directory-Level Actions
Some actions apply to individual files, while others apply to entire directories. Directories can contain more files and subdirectories, while files represent the actual uploaded content.
Read Access Tokens
File Management can generate temporary access links through Read Access Tokens. These links are useful when you need to securely share or connect to project files outside the normal project navigation.
Common Tasks
Create a Directory
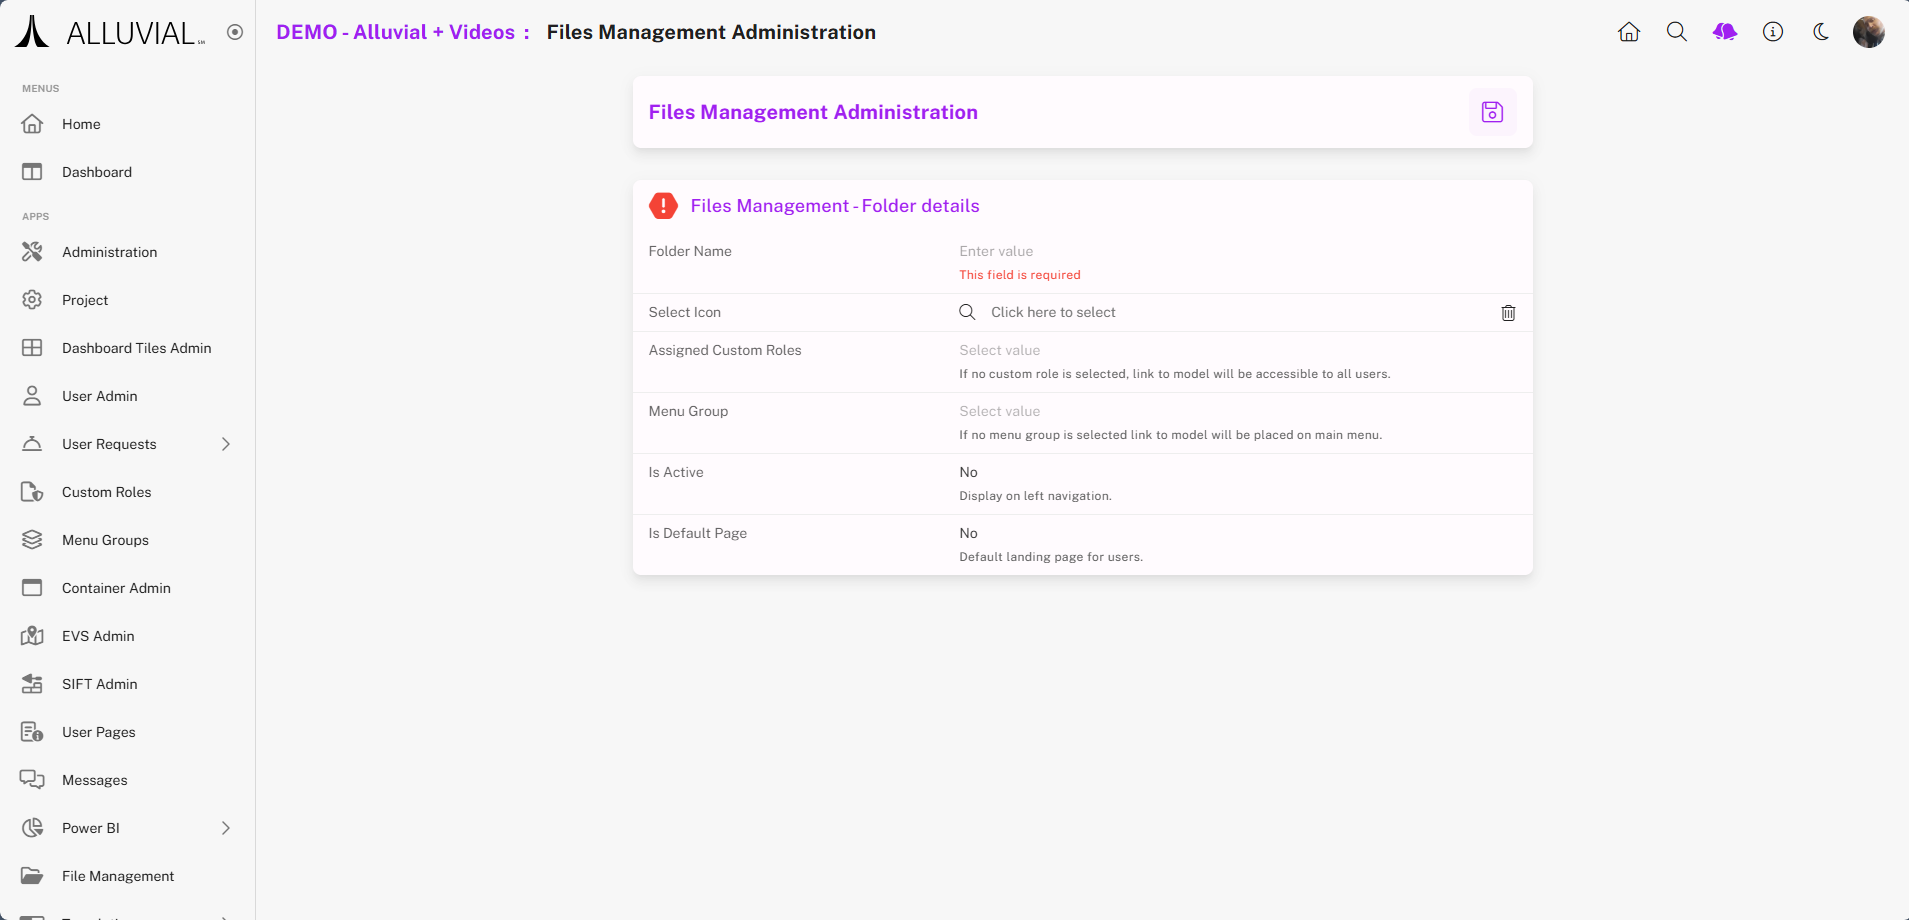
- Click CREATE NEW.
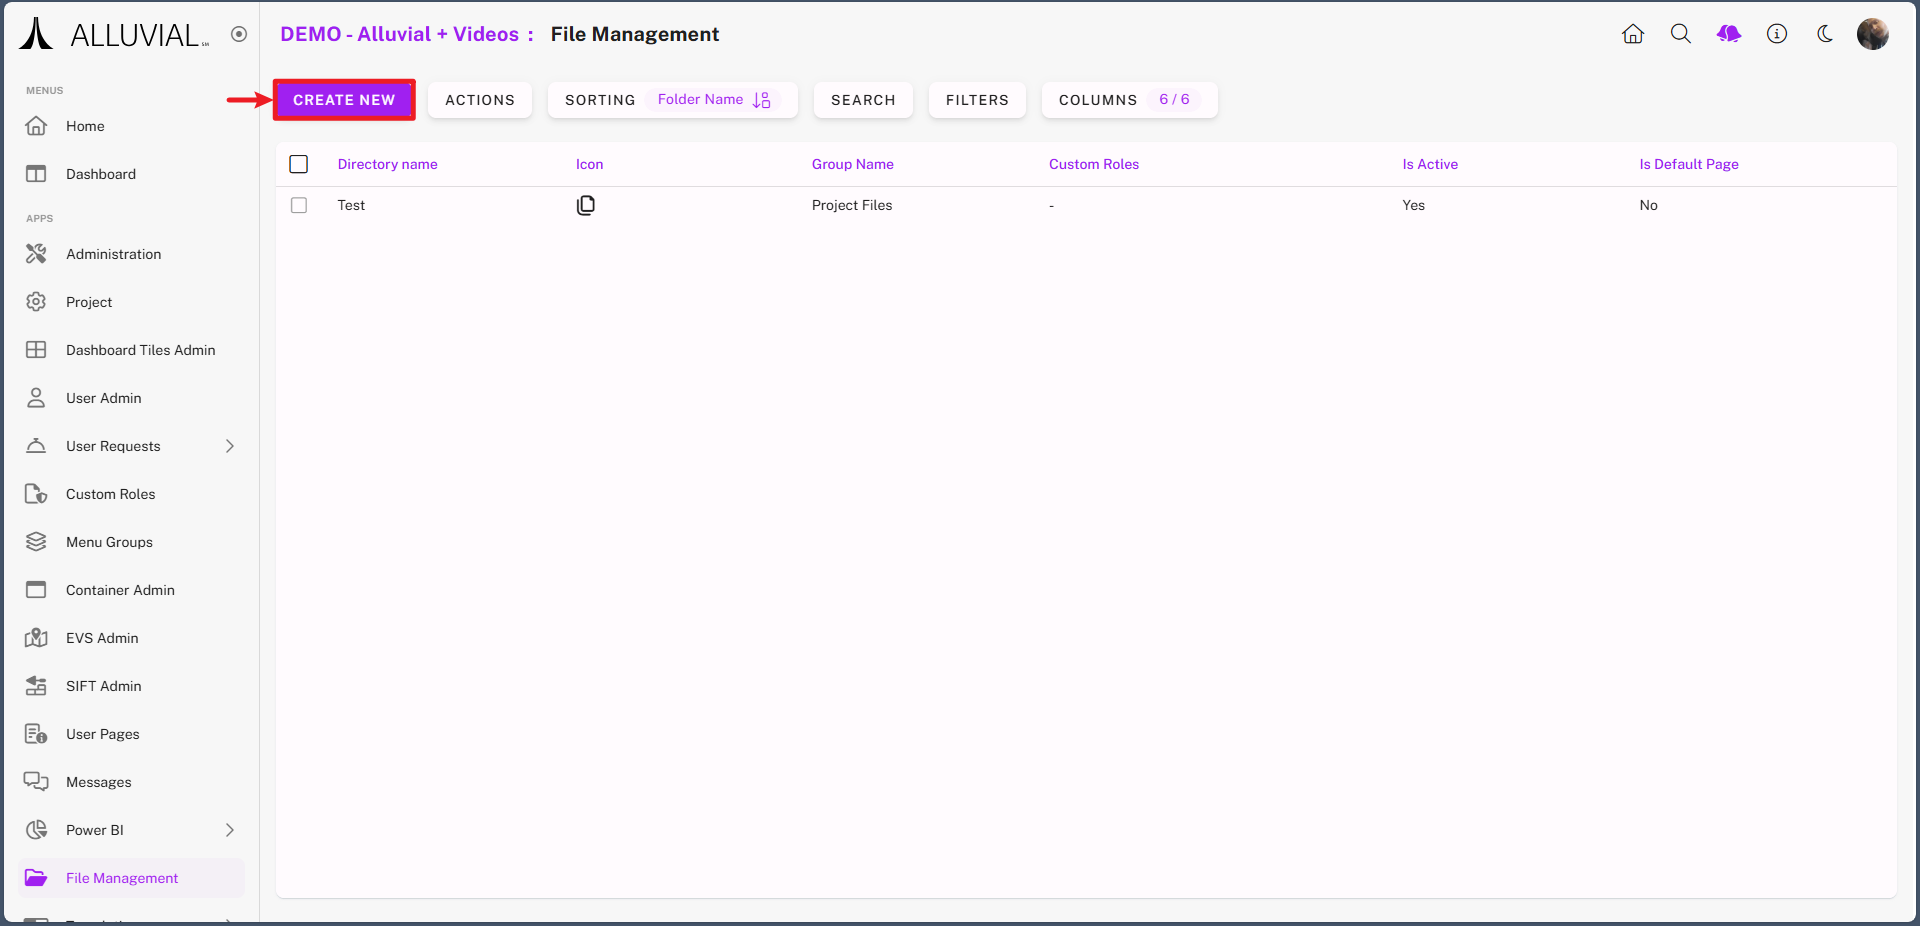
- Complete the form.
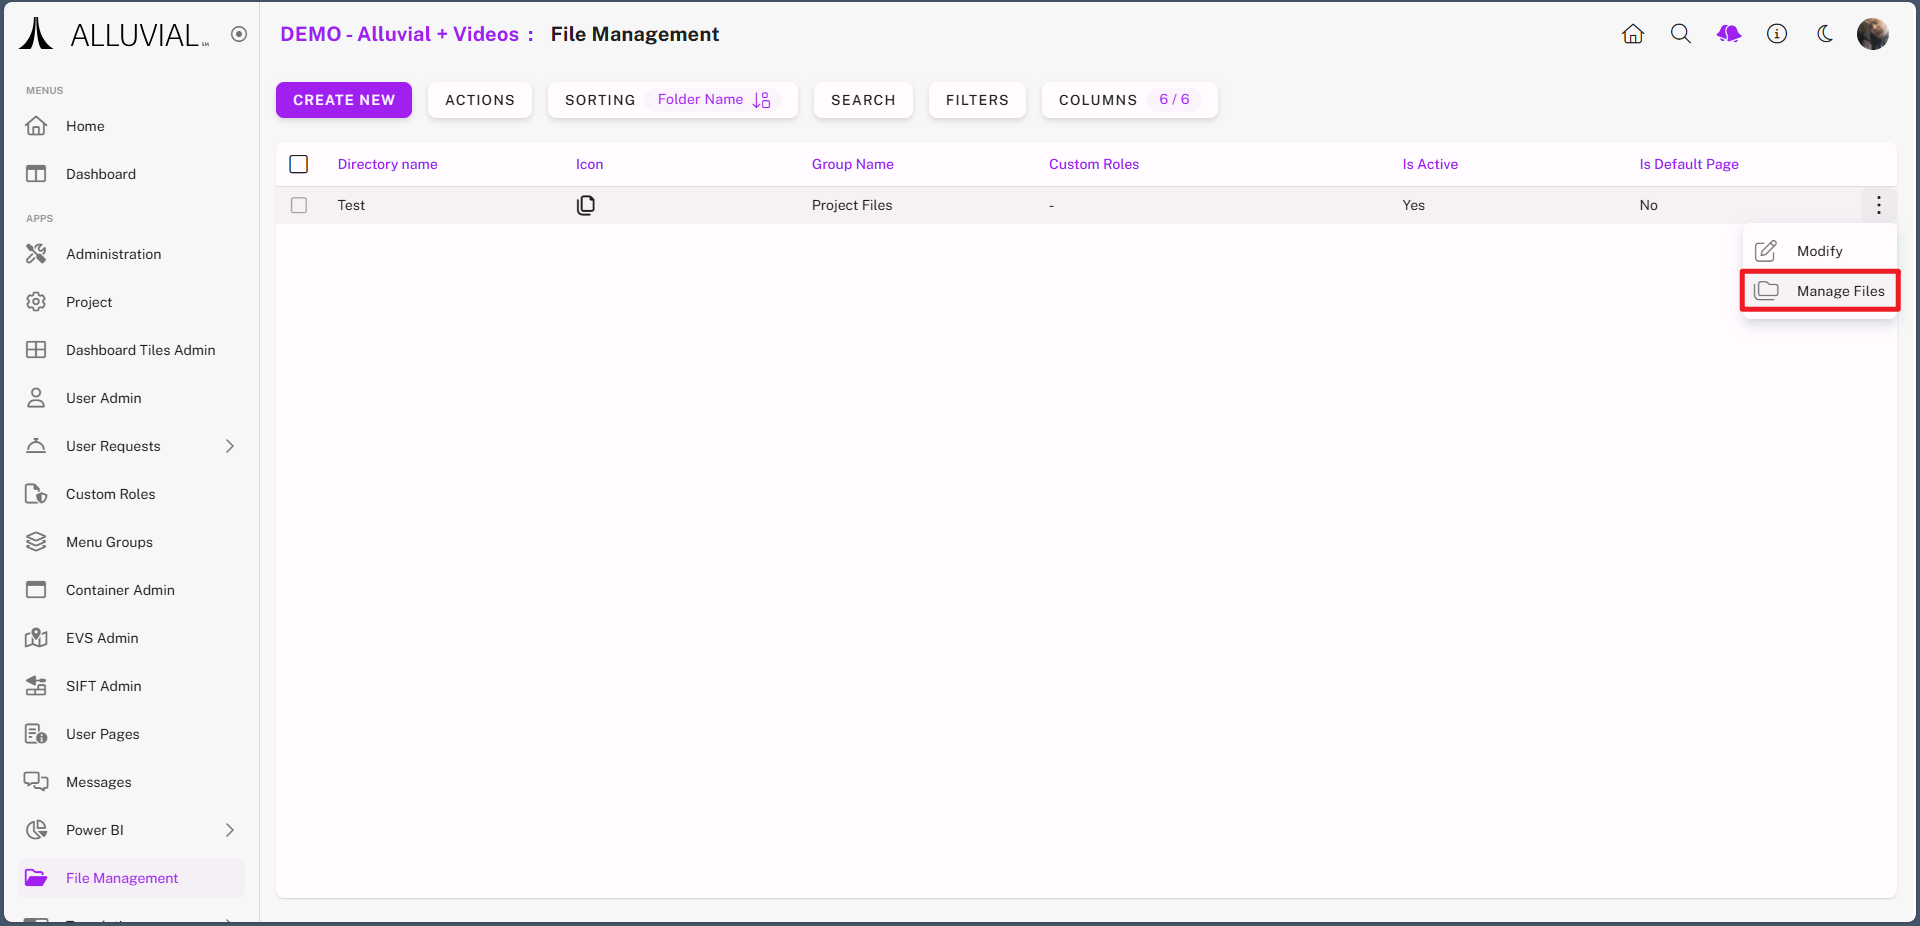
Open an Existing Directory
- Use the ellipses (⁝) to open the file management options for that directory.

- Select Manage Files to start adding files and subdirectories.
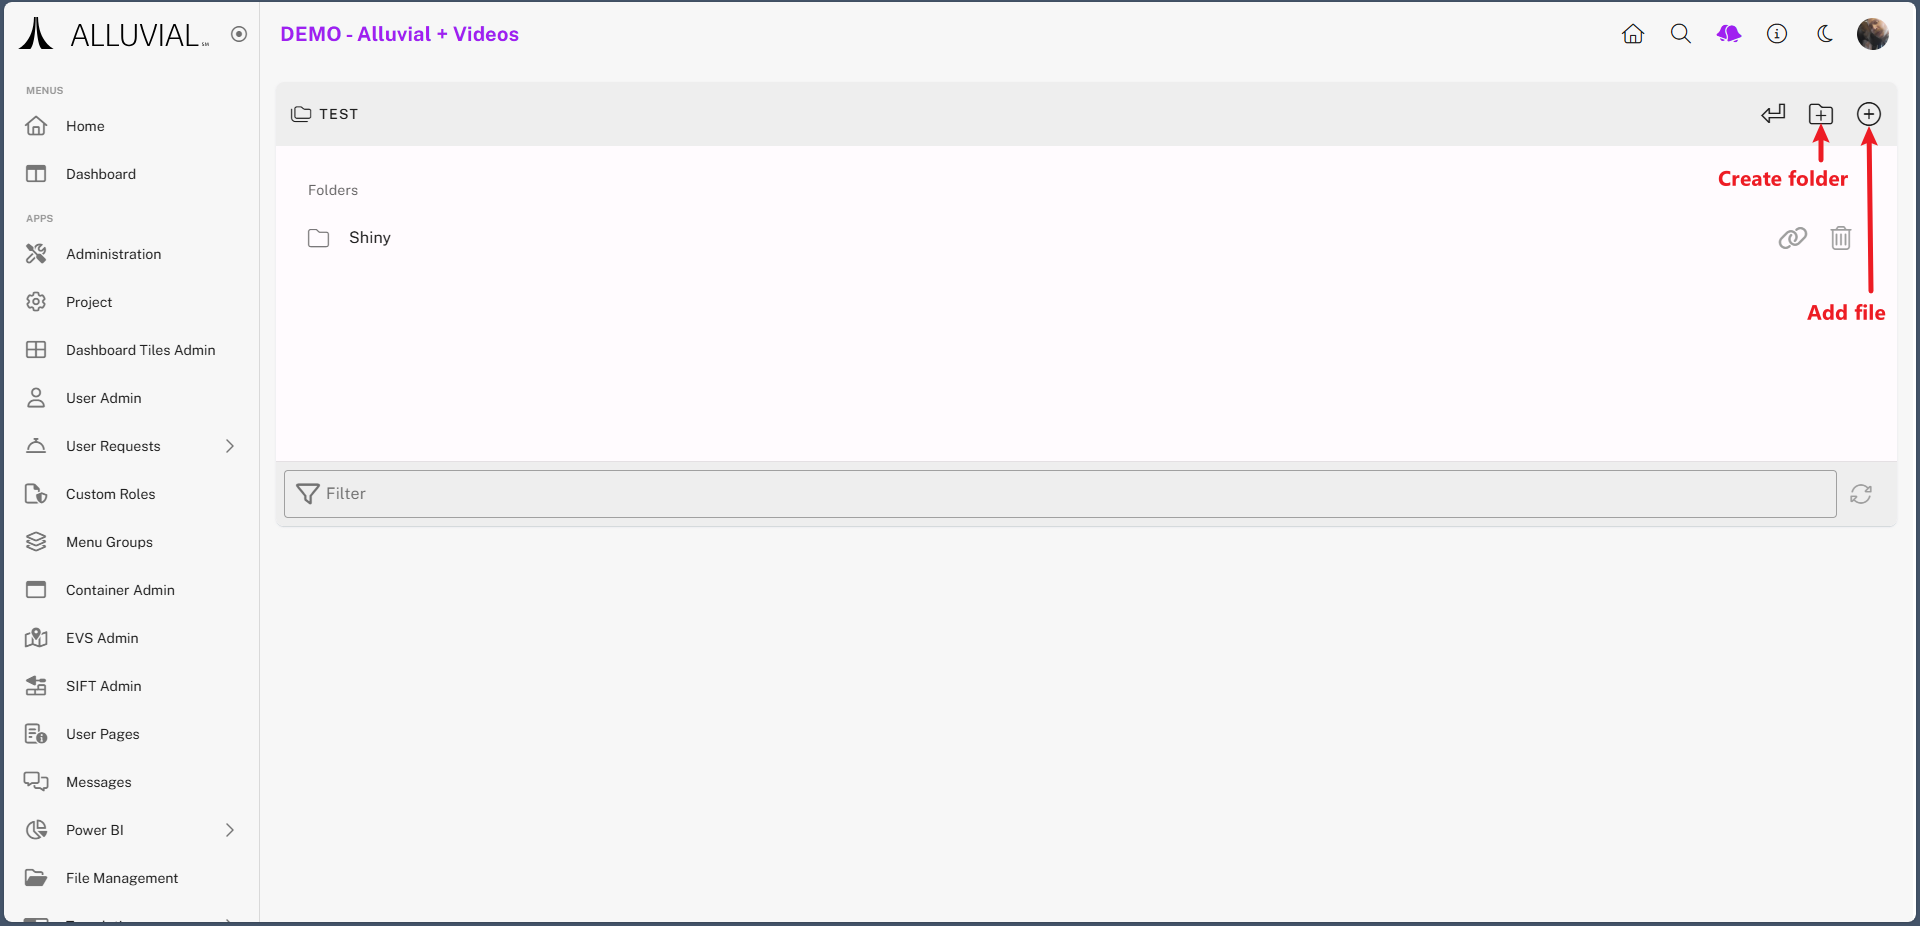
Add Files and Subdirectories
- Within the chosen directory, you can:
- Add subdirectories
- Upload files directly
- When uploading files:
- Your system file explorer will open
- Hold Ctrl (Windows) to select multiple files

- Before the final upload, you can cancel, remove, add more, or proceed.
- Once uploaded, files will be listed in the directory.
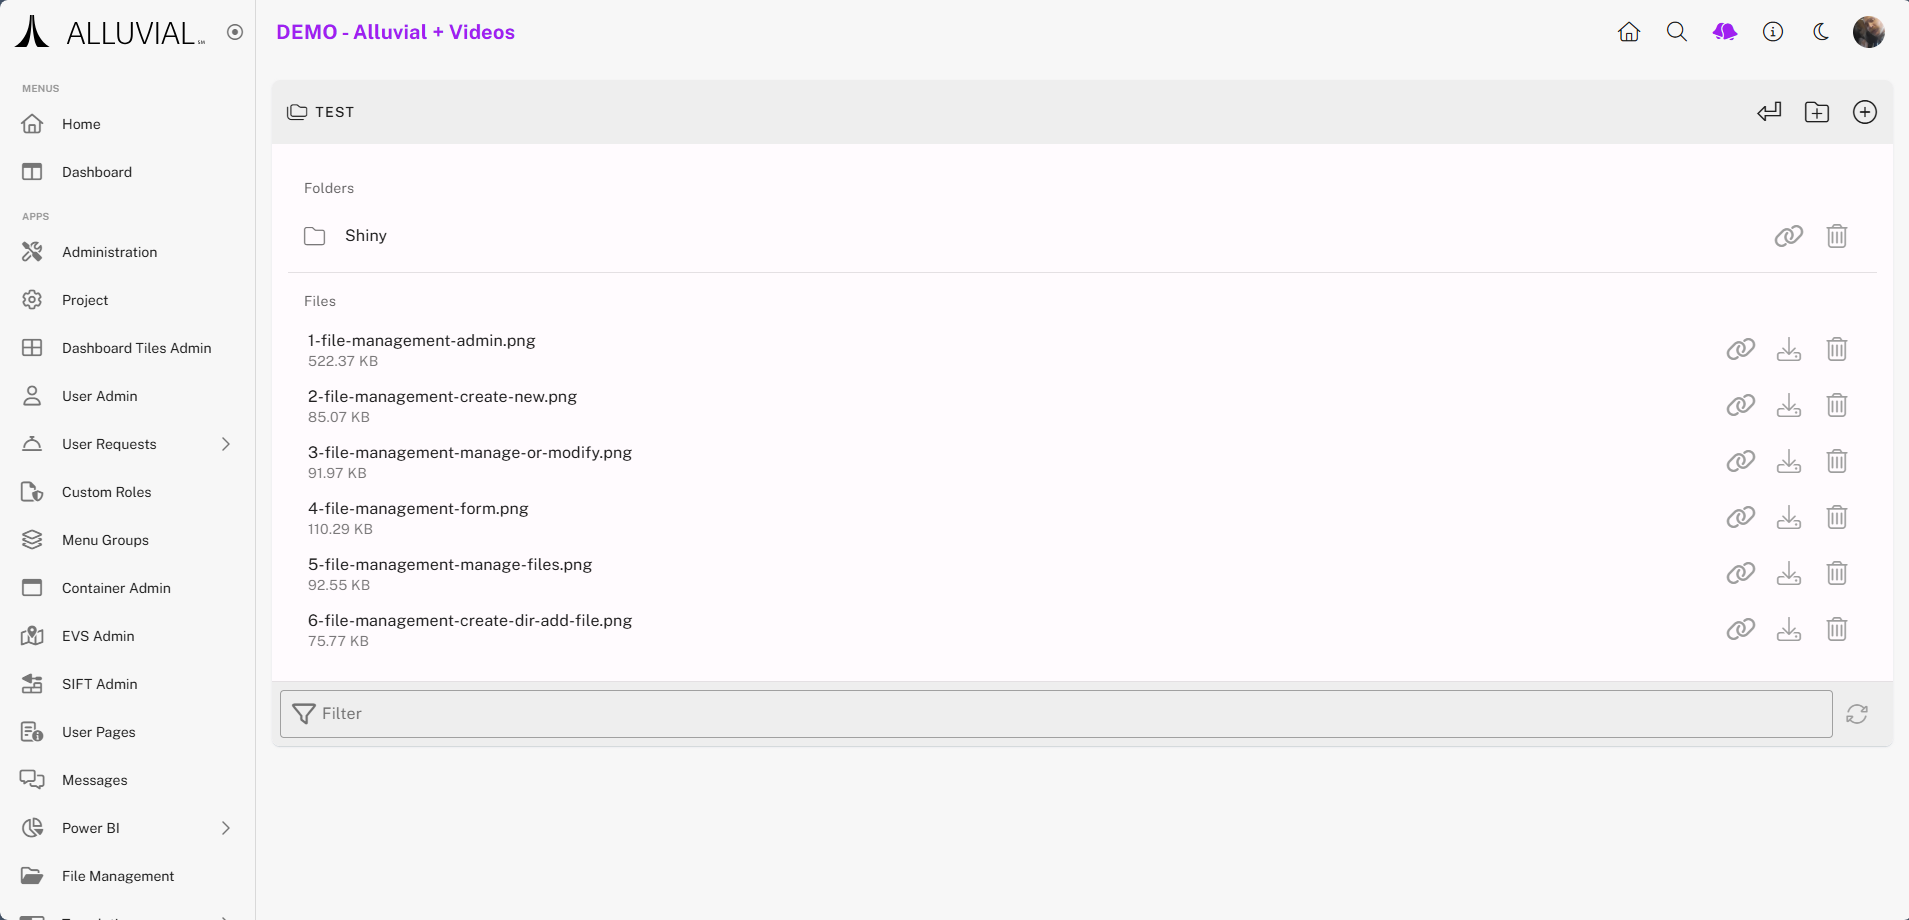
Use File Options
Each file has three available options:
- Read Access Token – Generate a temporary external access link to the file
- Download – Save a local copy
- Delete – Permanently remove the file
IMPORTANT: Subdirectories have all but the download option available.