Overview
The User Administration module allows project owners and project administrators to view, add, modify, and remove users within a project.
From this module, you can see user details such as email, role, company, and assigned permissions.
Getting Started
This module can be accessed and managed by project owners and project administrators.
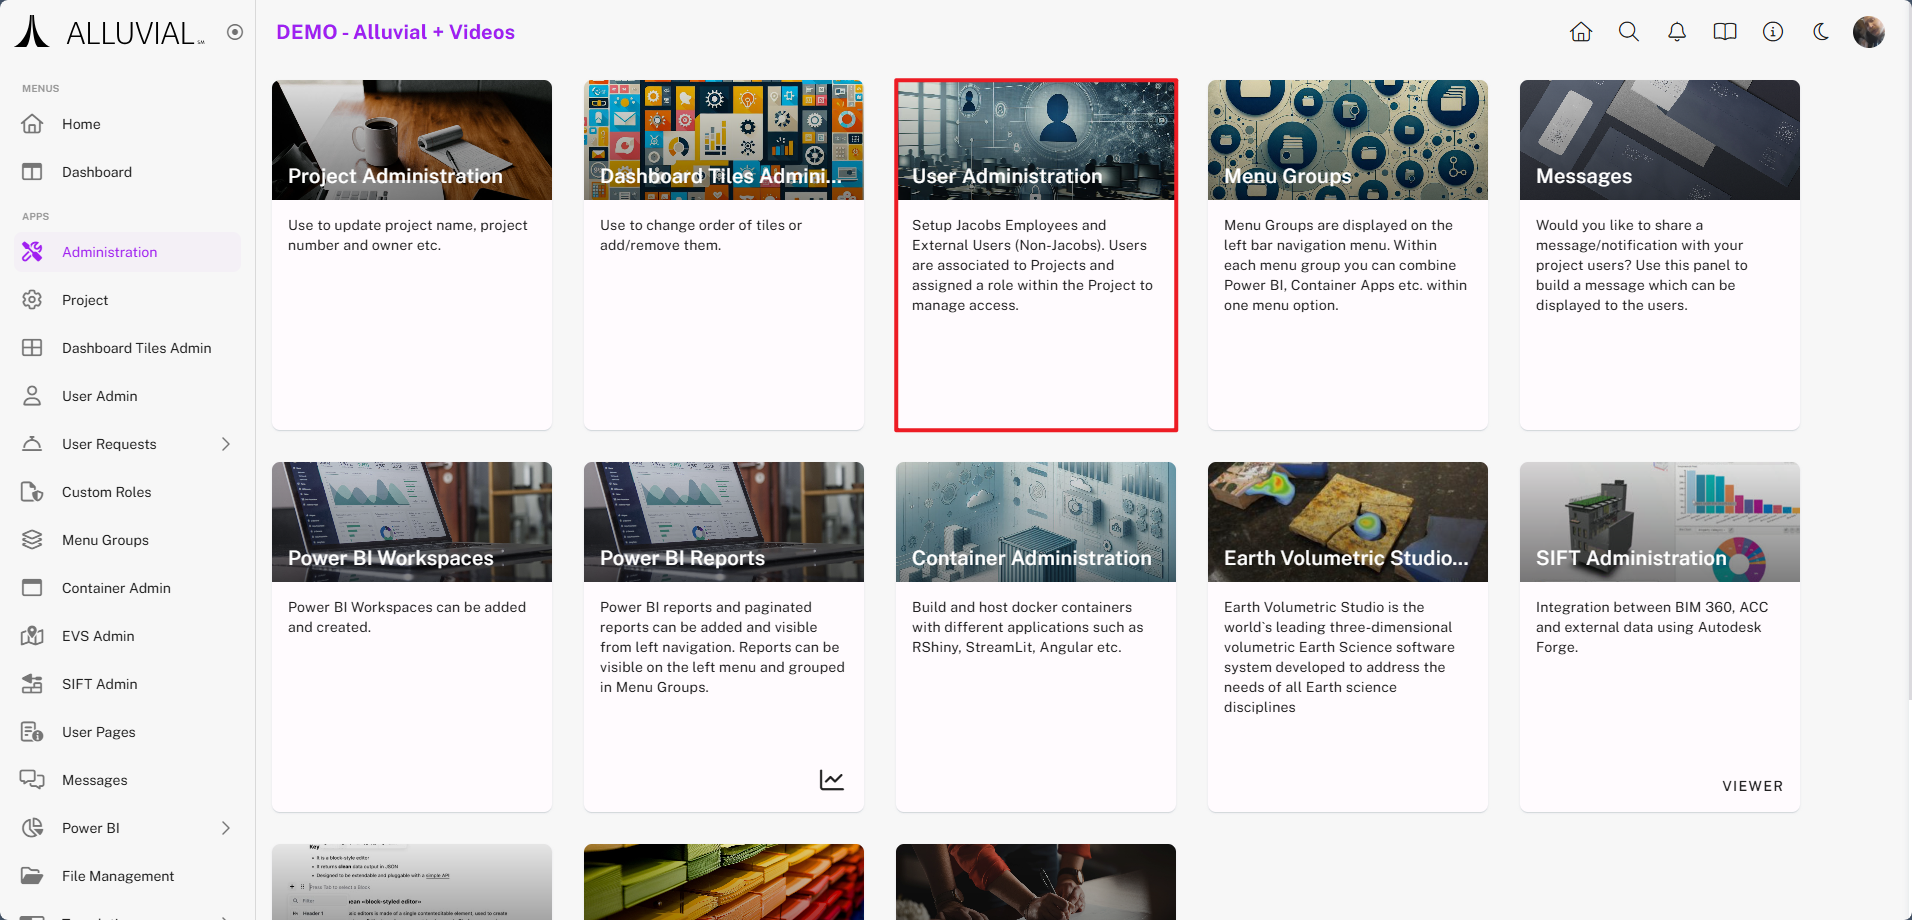
- Navigate to the administration page.
- Select the User Administration tile to open the management view.
Core Concepts
Internal vs. External Users
- Internal Users - Should be added with their organization email address so they can authenticate through Active Directory or Single Sign-On (SSO).
- External Users - Must be added with the exact email address they will use to sign in. These users will complete a one-time password setup.
Content Access vs. Administrative Permissions
- Assigned Custom Roles control access to specific project content or applications.
- Assigned Permissions to Manage control which parts of the project a user can administer.
If nothing is selected under Assigned Permissions to Manage, the user will be added as a project viewer with no administrative permissions.
IMPORTANT: Administrative modules only appear after the relevant Assigned Permissions to Manage have been granted in User Administration. If a user cannot see a module they are expected to manage, edit that user's account and assign the required permissions. This can include assigning permissions to yourself.
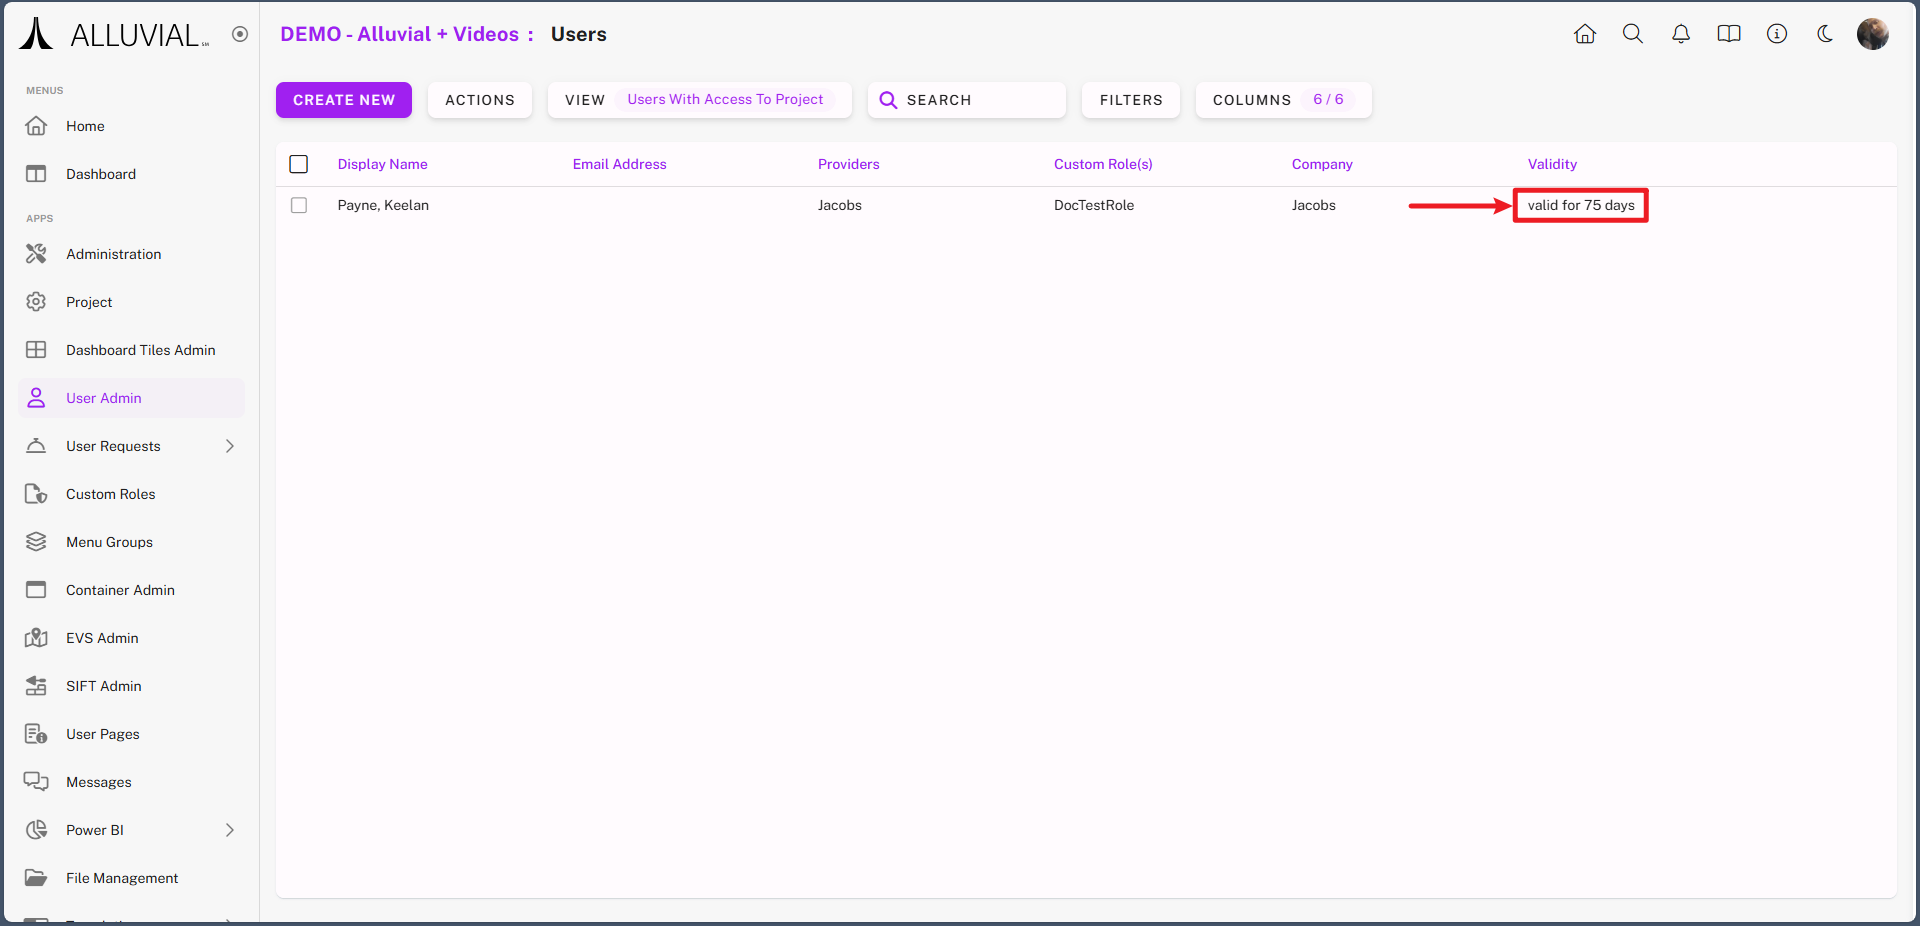
User Validation and Ongoing Review
Alluvial uses user validation to ensure that only currently authorized users retain access to project content.
- Internal and external users are granted access for 90 days when they are added to a project.
- If access is not revalidated before that period ends, the user is automatically removed from the project.
- User validation is mandatory and cannot be disabled.
If a user receives an Account Validity Warning email from noreply@alluvial.app, the message is legitimate and indicates that access is nearing expiration.
Project owners and project administrators are responsible for reviewing access periodically and extending it when appropriate.
IMPORTANT: You are responsible for safeguarding your project's data. Alluvial provides the tools for secure internal and external collaboration, and project owners and project administrators are responsible for using those tools appropriately.
Common Tasks
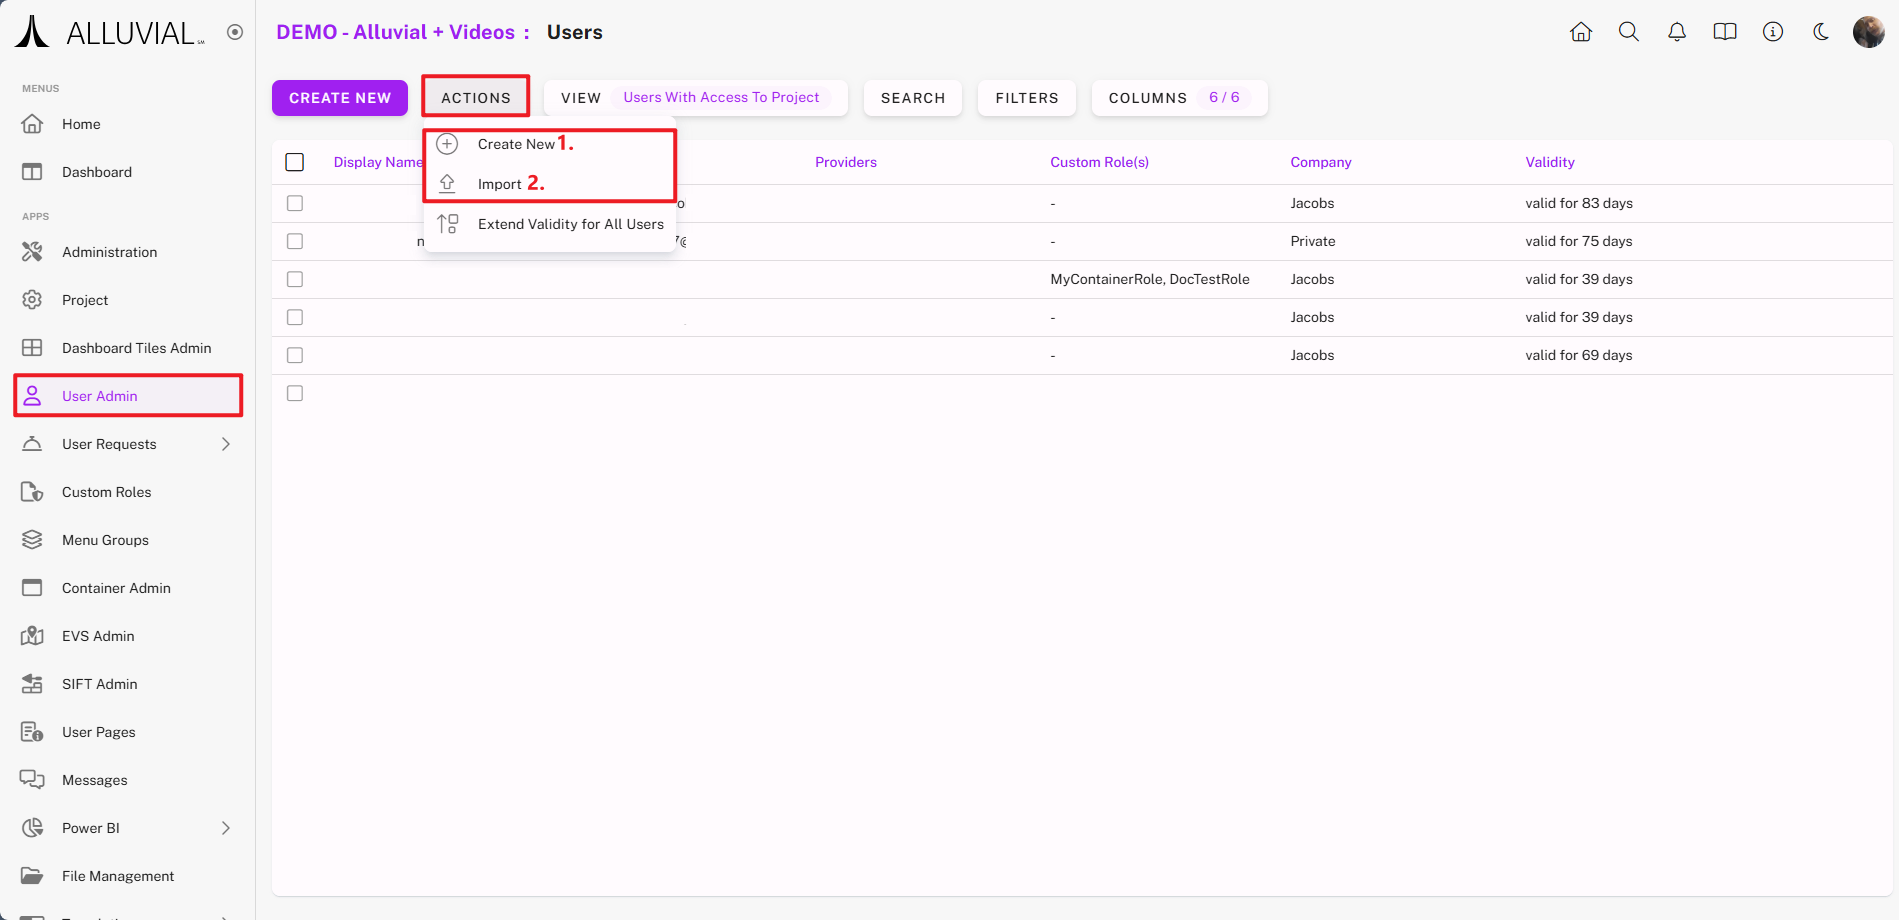
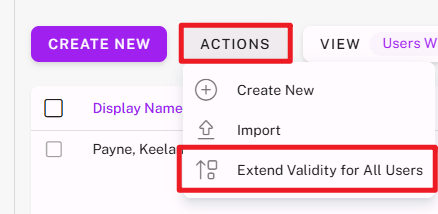
Choose a Method for Adding Users
- CREATE NEW – Add a single user at a time.
- Import Users – Bulk add multiple users using a provided template.
Both options are available in the ACTIONS menu.
When adding users, follow these guidelines:
- Internal Employees – Must be added using their organization email address (e.g.,
@organization.com) to ensure secure authentication via Active Directory. - External Users – Clearly communicate the exact email address used during account creation. All users should be added with their respective organizational email addresses.
Create a Single User
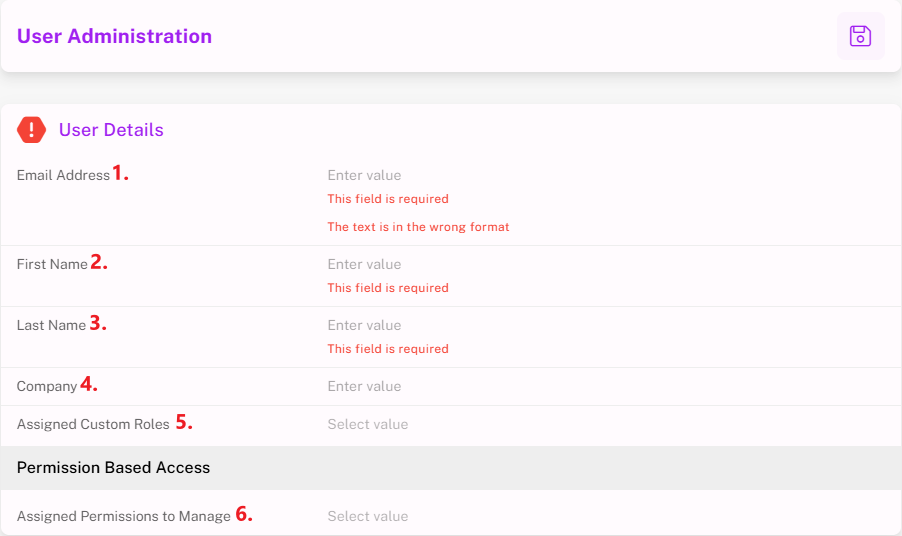
Form fields include:
- Email Address – Used for login. External users will need to create a password.
- First Name – User’s first name.
- Last Name – User’s last name.
- Company – Auto-populated for internal users; required for external users.
- Assigned Custom Roles – Grants access to specific content or applications.
- Assigned Permissions to Manage – Controls which areas of the project the user can administer.
- Selecting Users grants user management permissions.
- Selecting Power BI grants permissions to manage Power BI Reports and Workspaces.
- If nothing is selected, the user will be a project viewer with no administrative permissions.
IMPORTANT: If expected administration modules are missing for you or another user, review Assigned Permissions to Manage first. Once the appropriate permissions are saved, the corresponding administration modules will become available to that user.
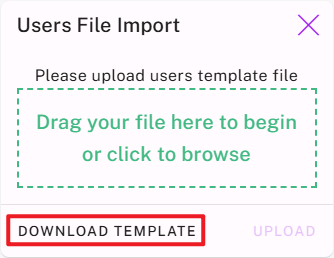
Import Users
- From the User Administration search page, select Import Users.
- Download the template.
- Fill in the required details.
- Upload the completed template.
User Onboarding and Sign-In
Sign-Up Process
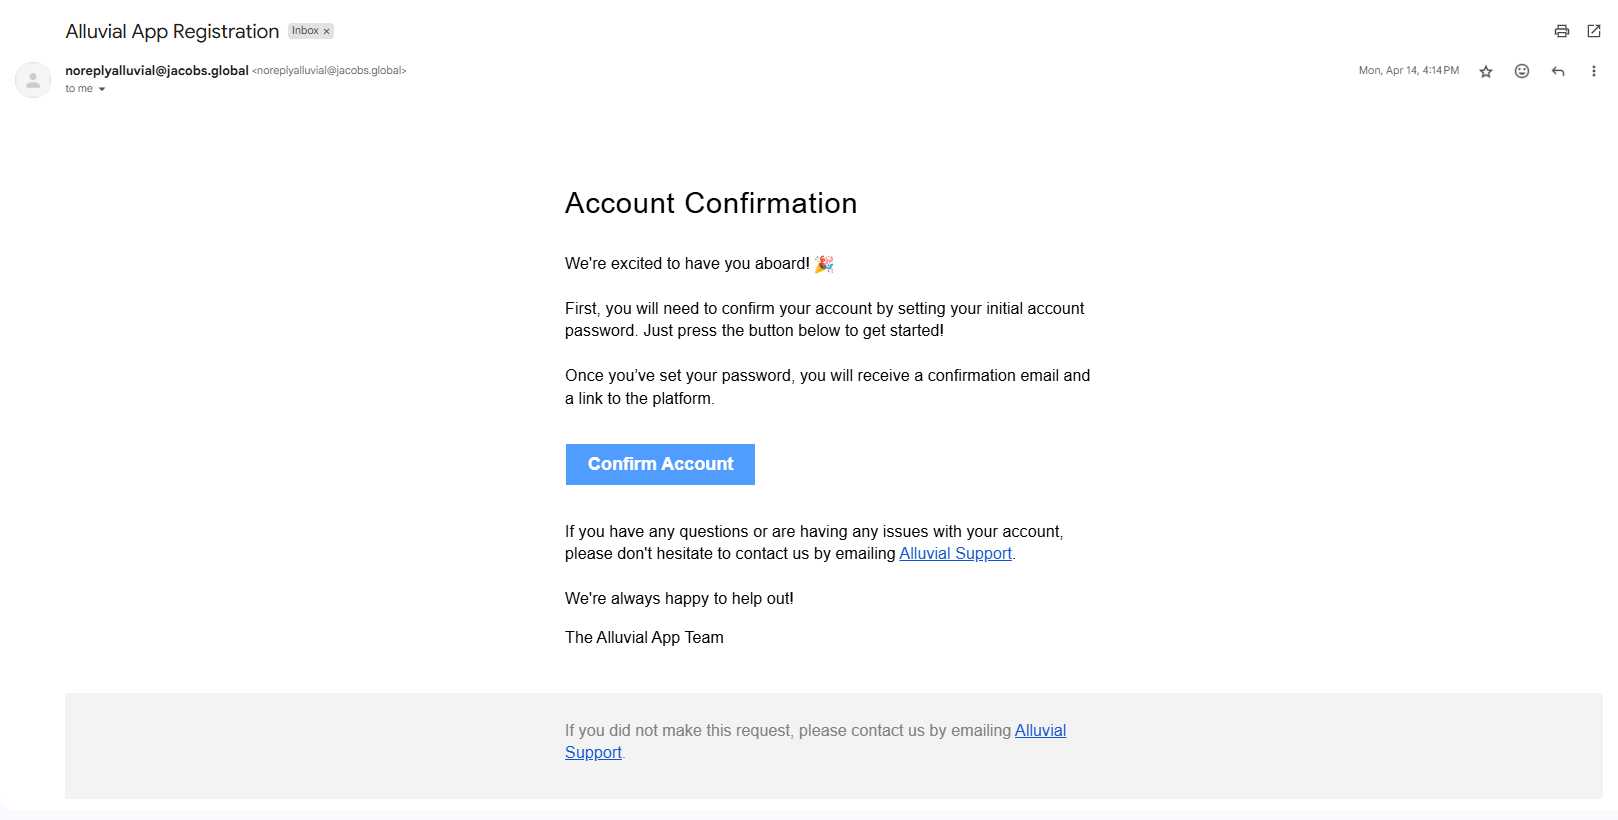
- Internal Users – Use Single Sign-On (SSO) and receive a confirmation email.
- External Users – Complete a one-time password setup.
IMPORTANT: Ask external users to check spam/junk folders if no confirmation email is received.
After password setup, users receive a welcome email with a link to log in.
Password Reset for External Users
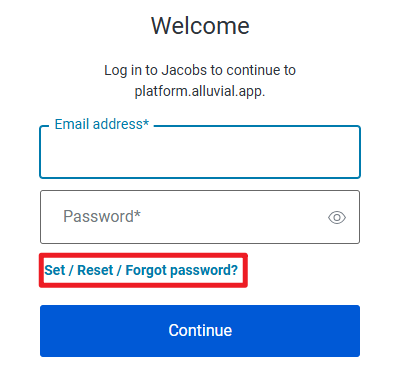
- Go to the login page.
- Enter the email address you were registered with.
- Click Set / Reset / Forgot password?
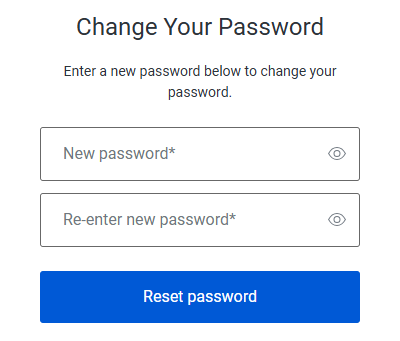
- Enter the account email address.
- Follow the instructions from the reset email.
Additional Functionality
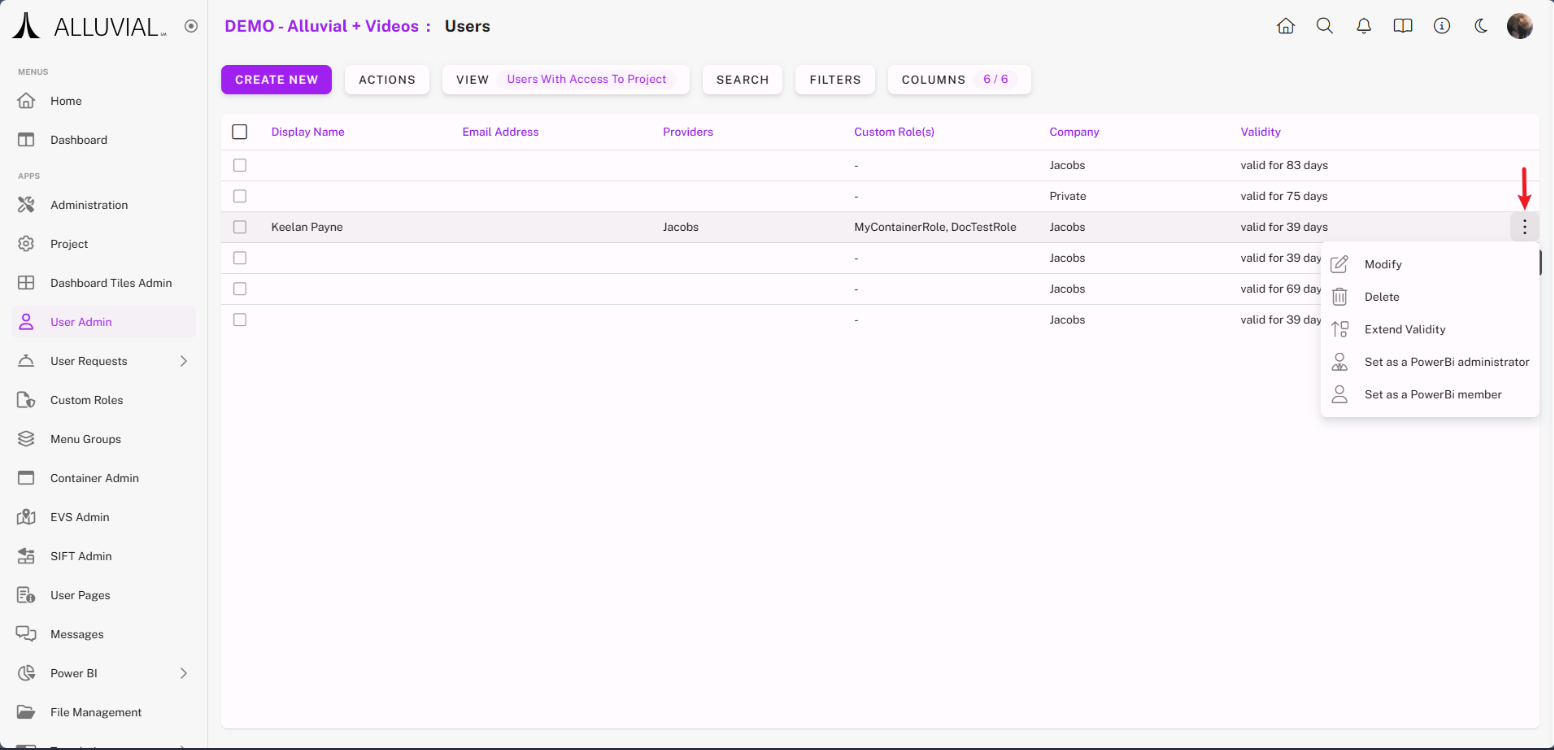
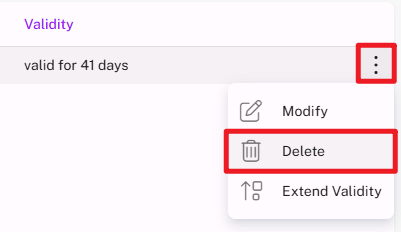
Modifying Users
Use the vertical ellipses (⁝) next to a user to:
- Modify – Update user details or permissions.
- Delete – Remove from the project (and associated Power BI workspaces).
- Extend Validity – Available if the user is near access expiration.
- Set as Power BI Member – Grants workspace access on https://app.powerbi.com. This is only available for a workspace that was created through Alluvial.
If expected administration modules are missing for you or another user, use Modify to update Assigned Permissions to Manage. Once saved, the corresponding administration modules will become available to that user.
IMPORTANT: "Set as Power BI Administrator" is not available to standard Alluvial project administrators and is only available to Alluvial platform administrators. Member access is sufficient for most scenarios. For admin access, submit a support ticket with justification.
Extend or Revoke User Access
Project owners and project administrators with sufficient permissions are responsible for reviewing user validity and managing access extensions.
You can extend access in two ways:
- Via Project Administration – Approve an extension request by clicking Extend Validity.
- Via User Administration – Extend access proactively without waiting for a user-initiated request.
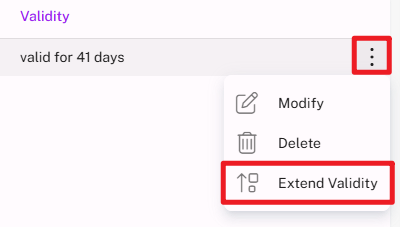
IMPORTANT: The Extend Validity option is only available when a user is nearing the end of the current access period. If you do not see it, the user still has sufficient time remaining.
To revoke access, you can:
- Allow the current validity period to expire.
- Delete the user from the project entirely.
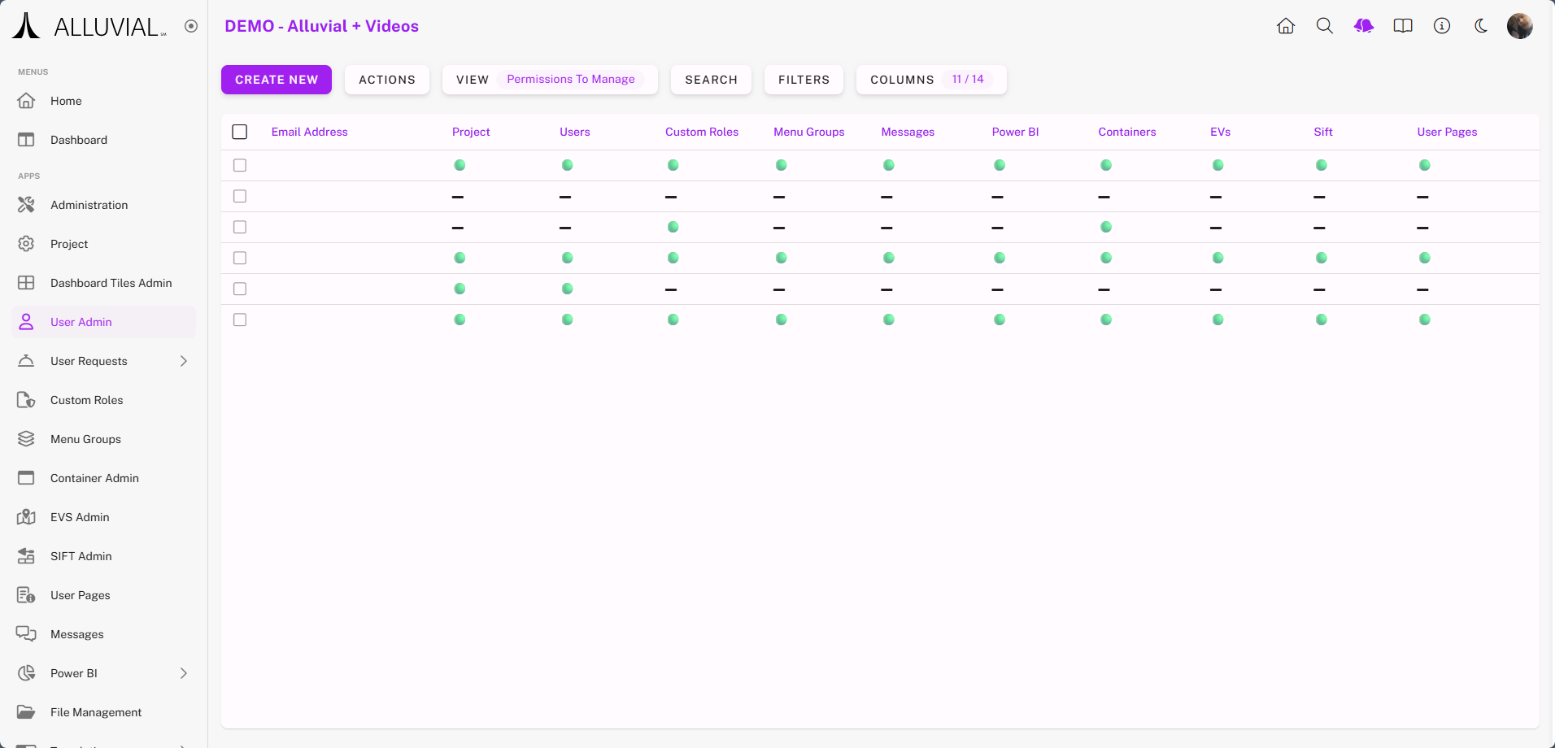
Viewing User Permissions Across a Project
- Go to User Administration.
- Click the View dropdown.
- Select Permissions to Manage.
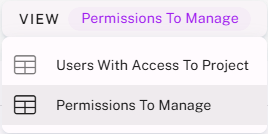
The permissions view uses:
- 🟢 to indicate granted permissions
- ▬ to indicate no permissions