Overview
The Translations module enables multilingual collaboration by allowing document and free-text translations directly within Alluvial.
It is powered by Azure AI Translator, a cloud-based neural machine translation service.
- Basic Translation – Available by default for supported languages.
- Custom Translation – Allows specialized translation models for domain-specific language needs.
Getting Started
Enable Translations
Translations are not enabled by default.
You can enable this module when:
- Creating a new project
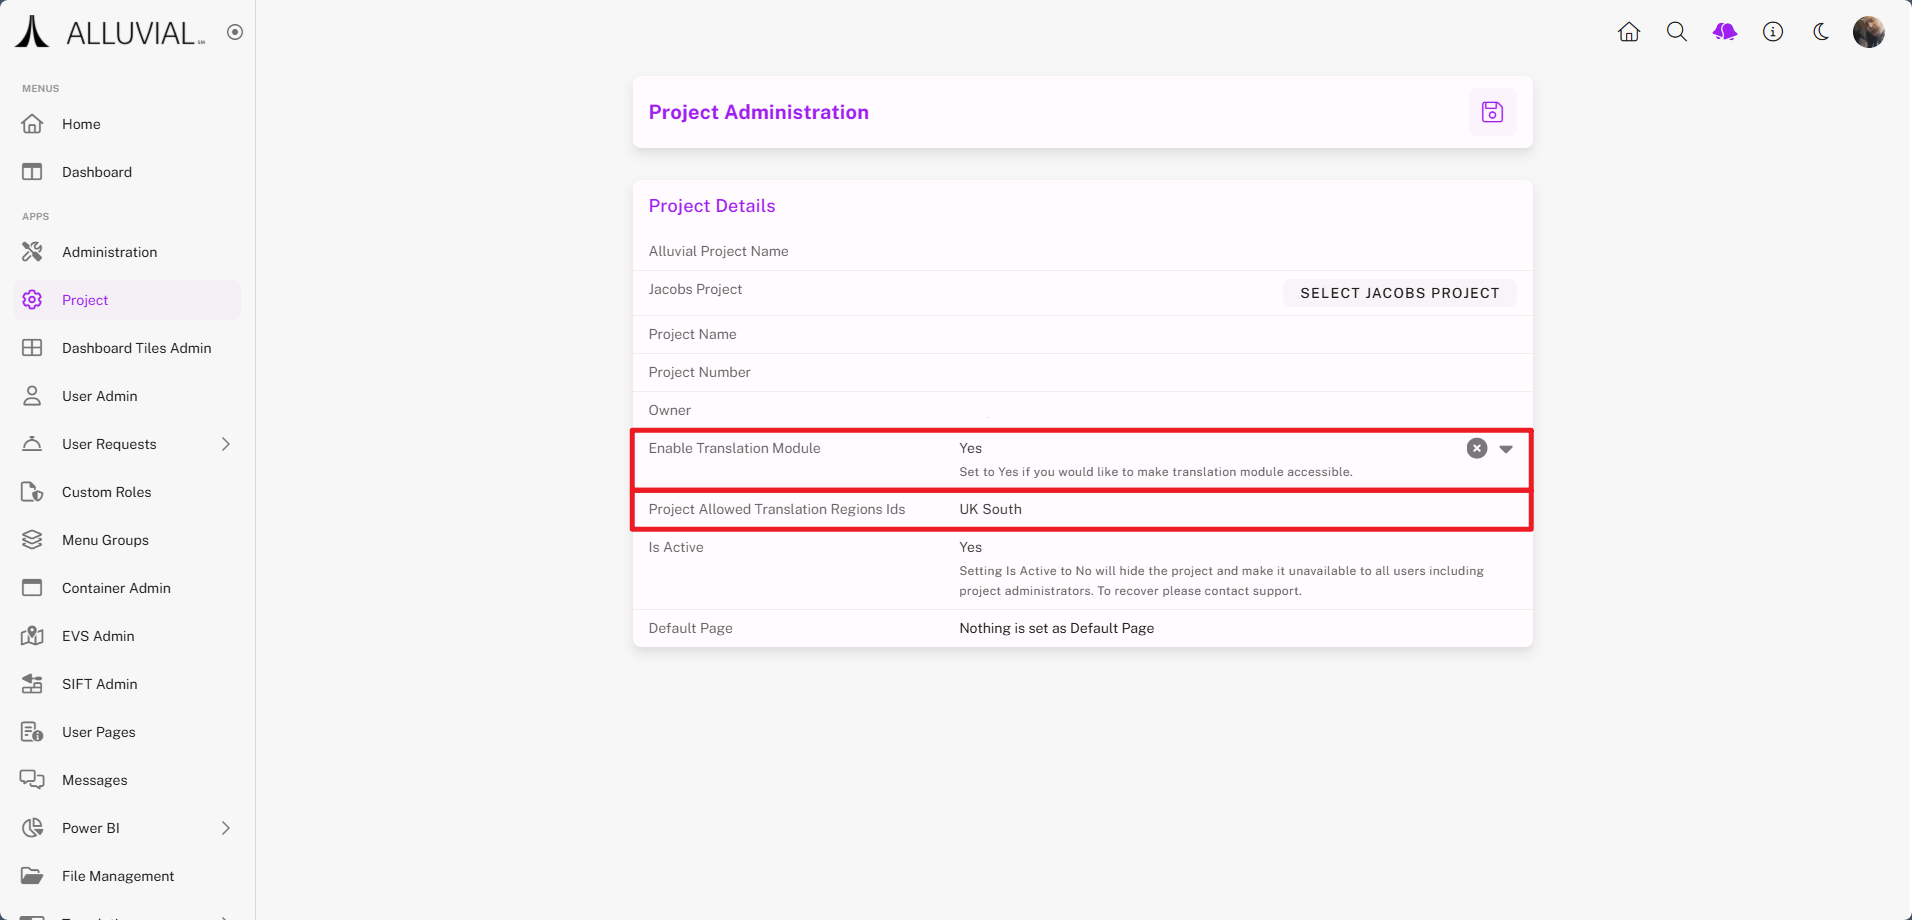
- Modifying an existing project via Project Administration
In Project Administration, enable the module from the dropdown.
Select a processing region for the translation service.
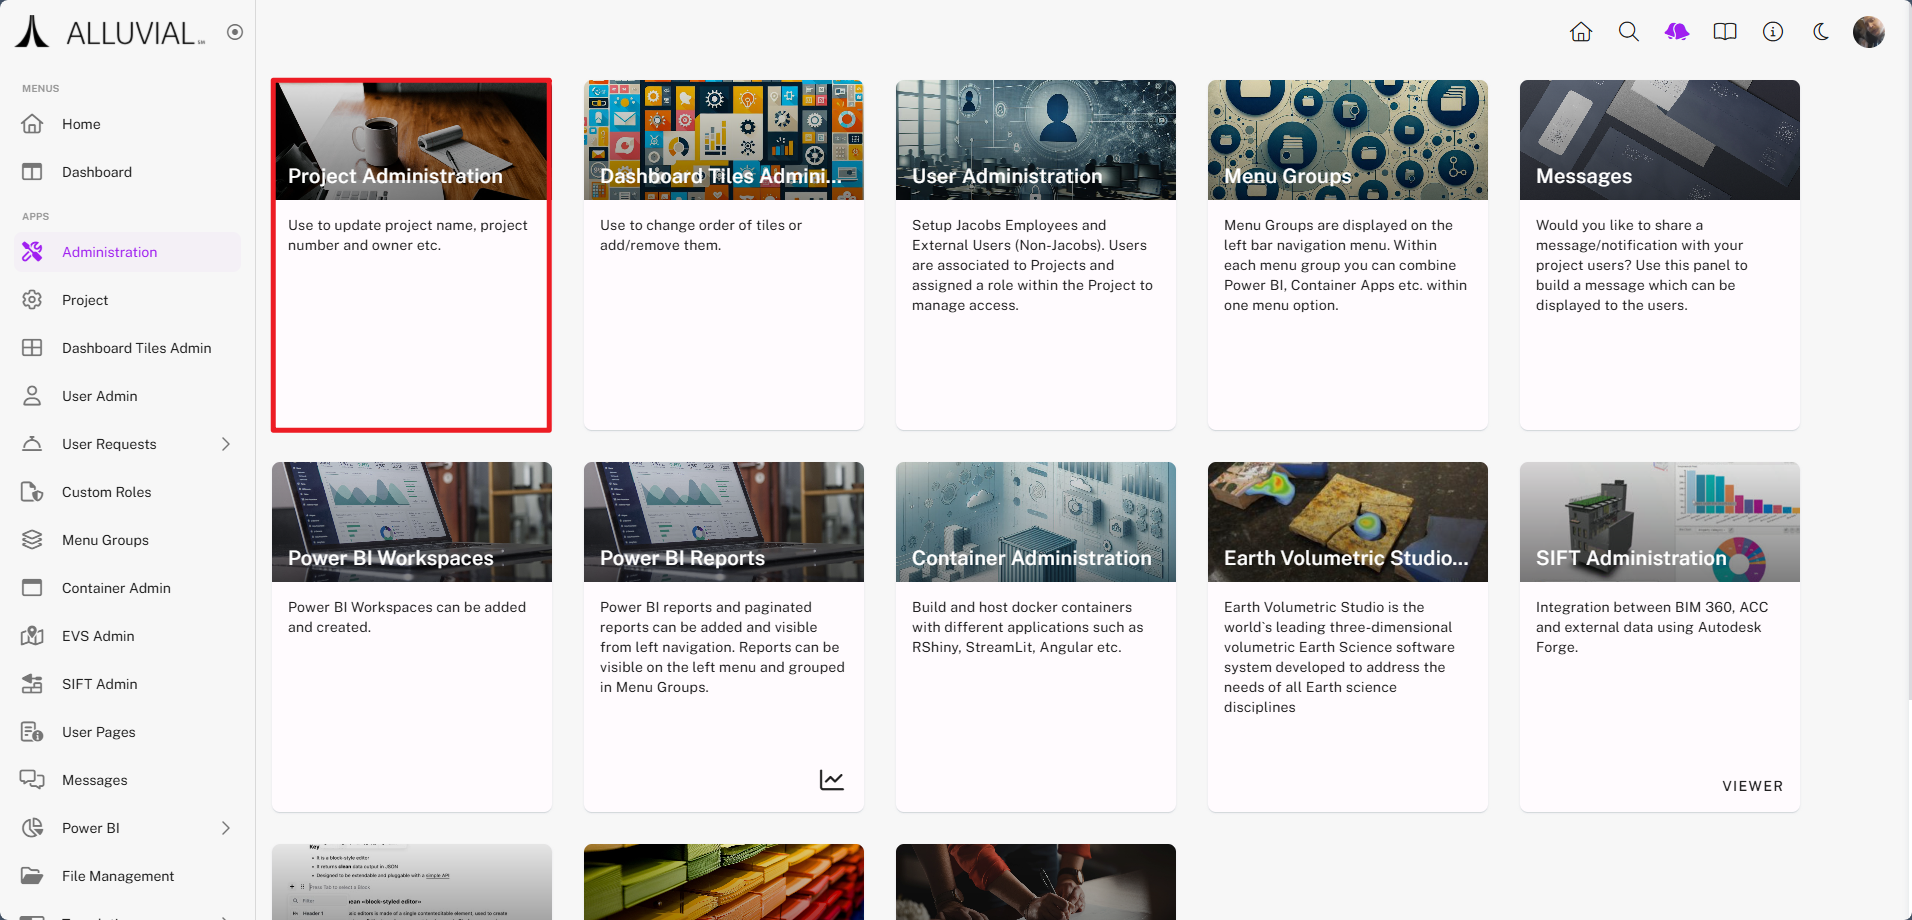
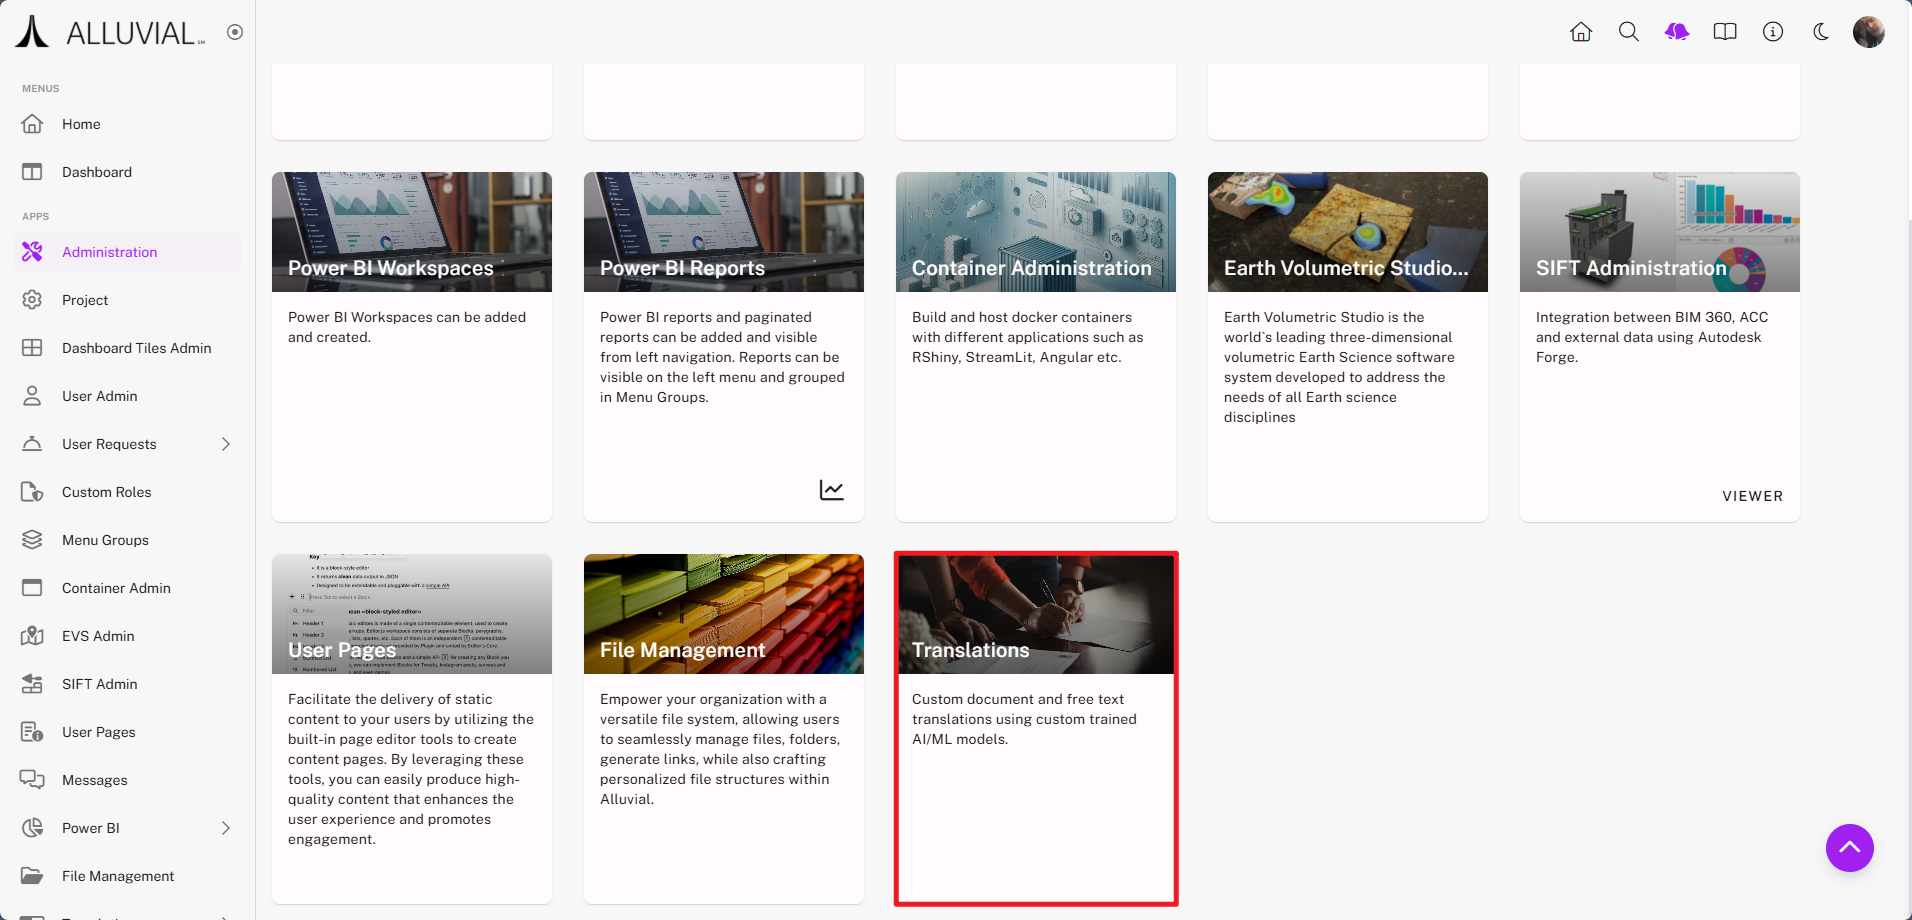
Once enabled, the Translations card appears in the Administration menu:
Core Concepts
Basic vs. Custom Translation
- Basic Translation uses the default translation service for supported languages.
- Custom Translation uses a model associated with a Translation Objective so translations can be tailored to a specific domain or terminology set.
Translation Objectives
A Translation Objective defines:
- Source and target languages
- Processing region
- Subject matter domain
Translation Objectives are required only when you want to use Custom Translations.
Document vs. Free Form Text Translation
- Document Translation is used when you want to translate uploaded files.
- Free Form Text Translation is used when you want to translate text entered directly into the interface.
Common Tasks
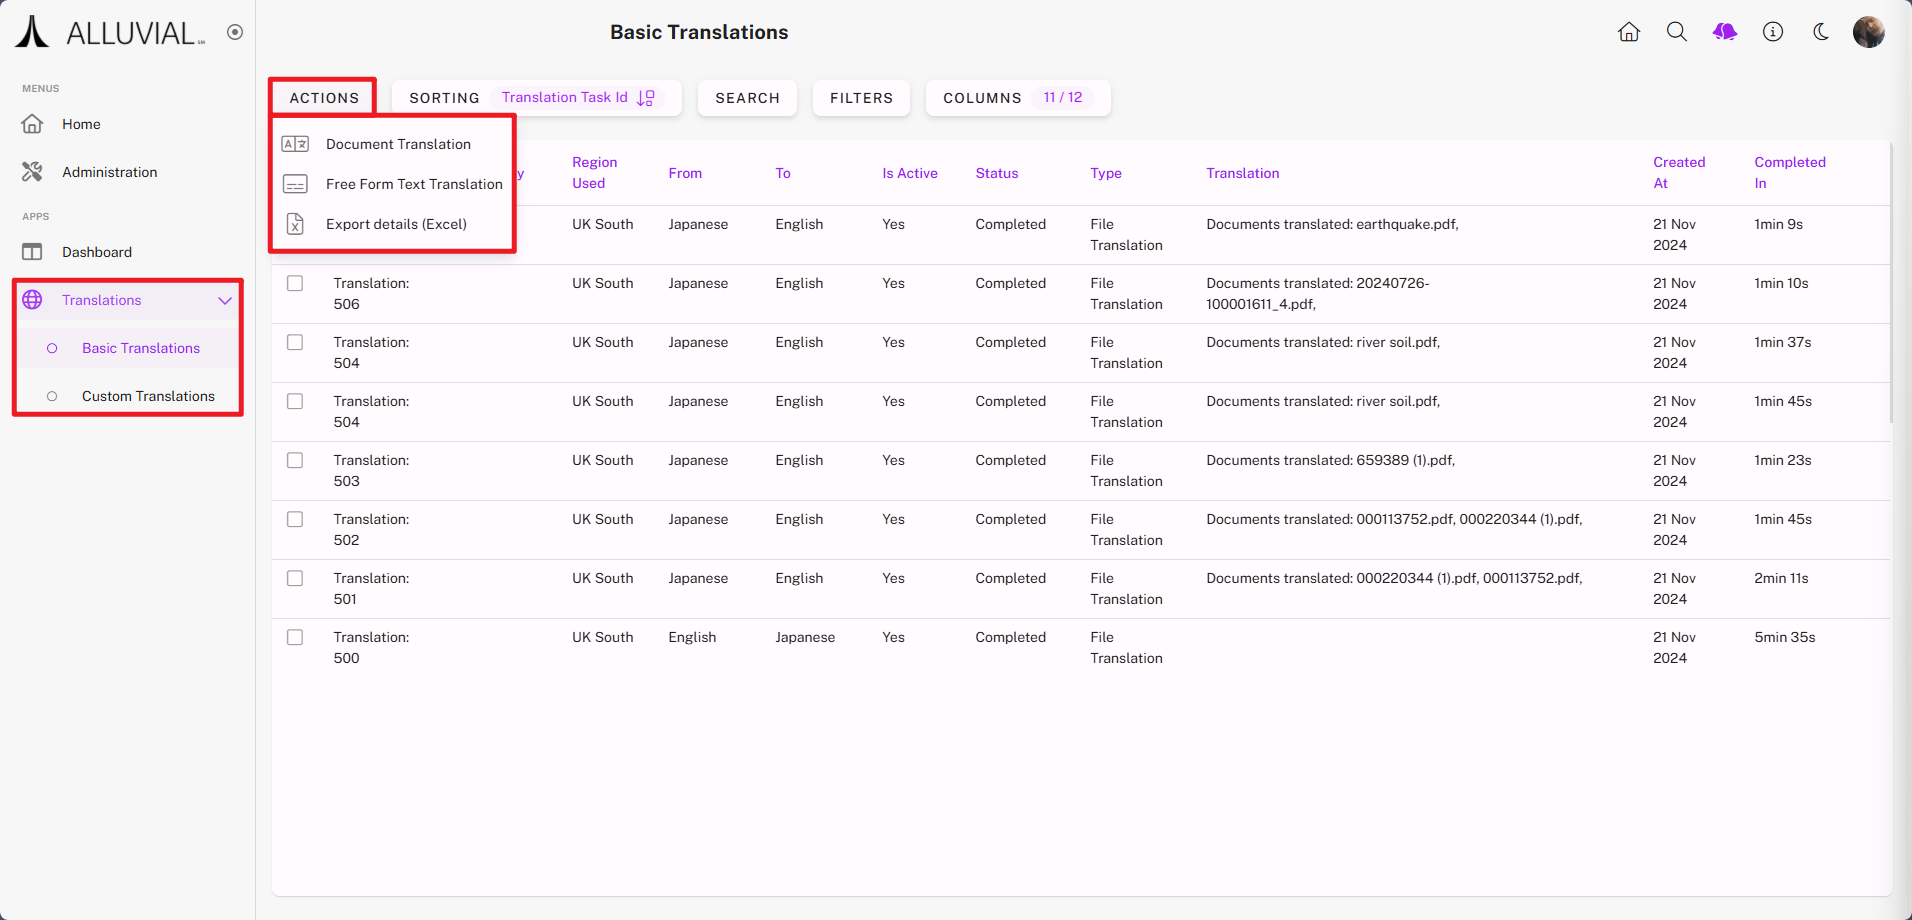
From your project dashboard, open the Translations dropdown and choose:
- Basic Translations
- Custom Translations (if using a Translation Objective)
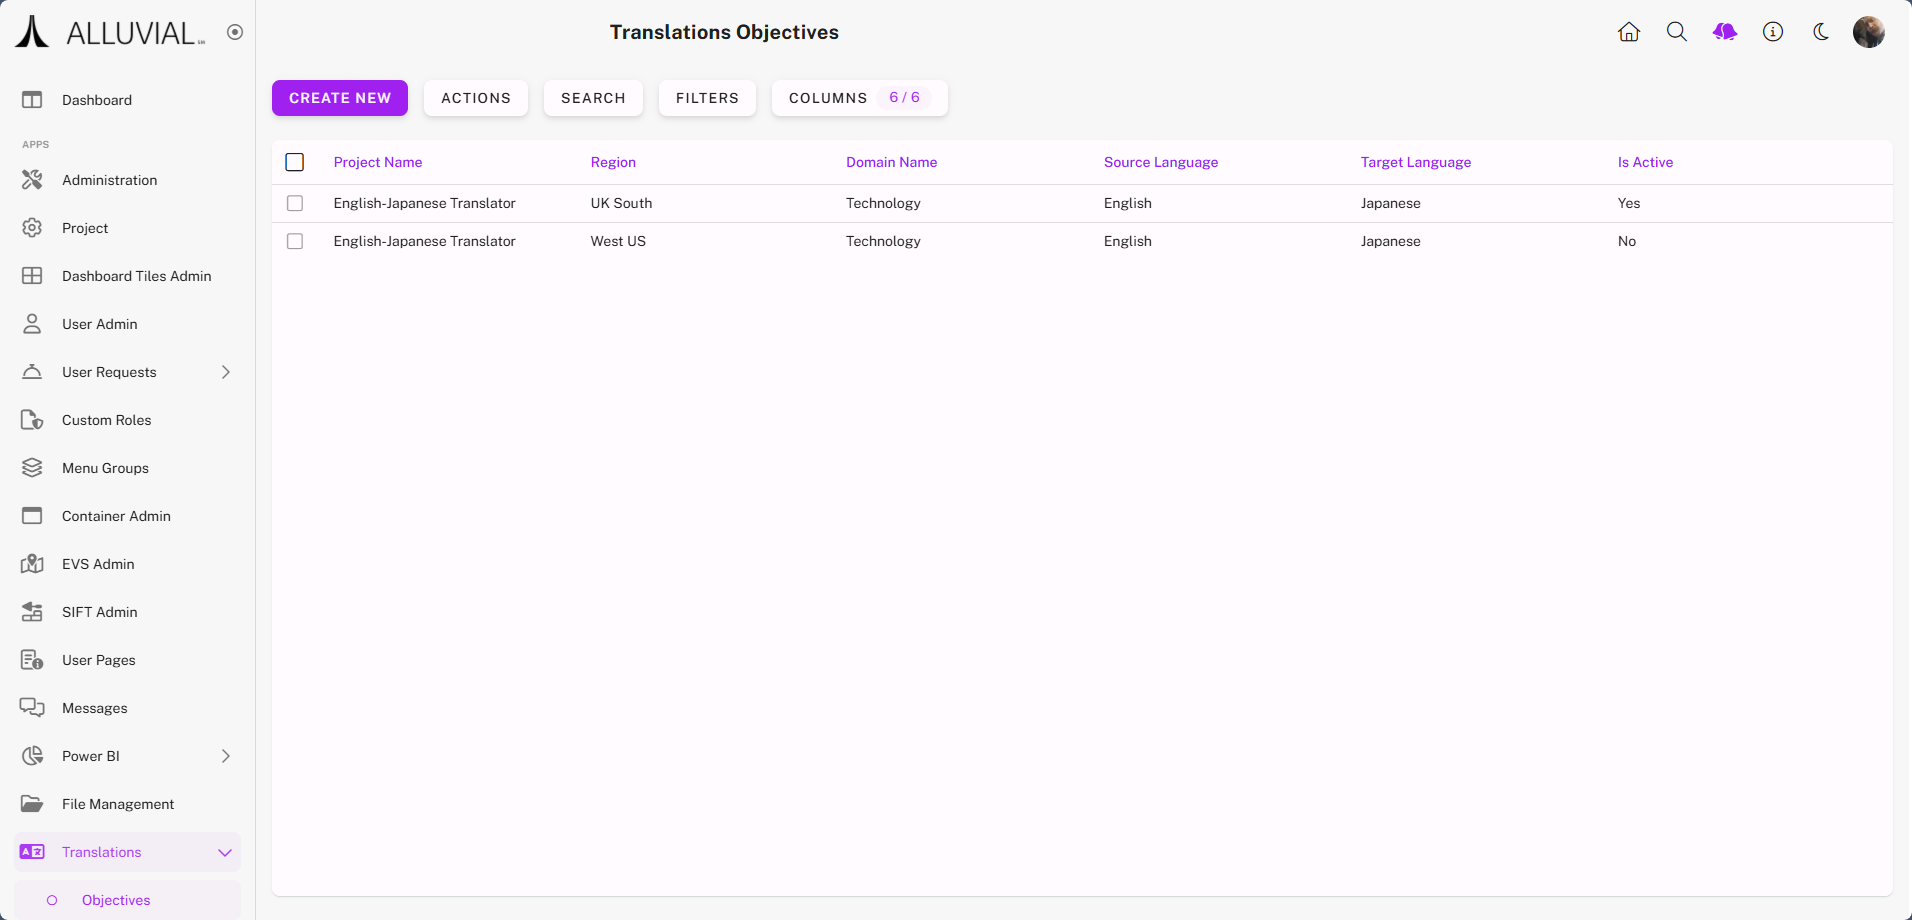
From the translation search pages, you can:
- View previous translation results.
- Create a Document Translation.
- Create a Free Form Text Translation.
- Export Details (Excel) of translation history.
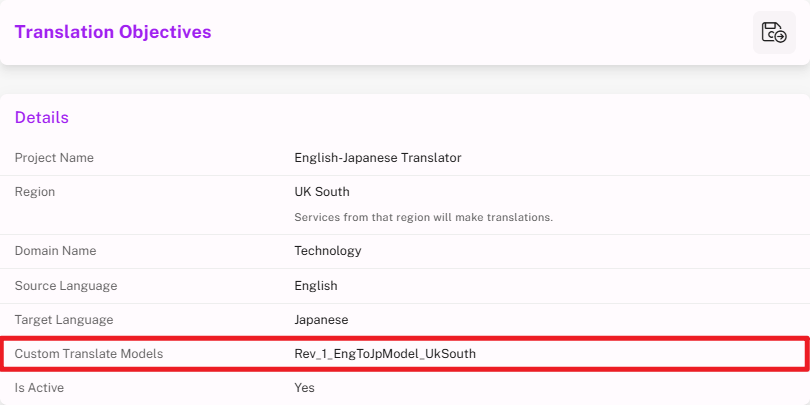
Create a Translation Objective
This is required only for Custom Translations.
- Click CREATE NEW.
- Complete the form.
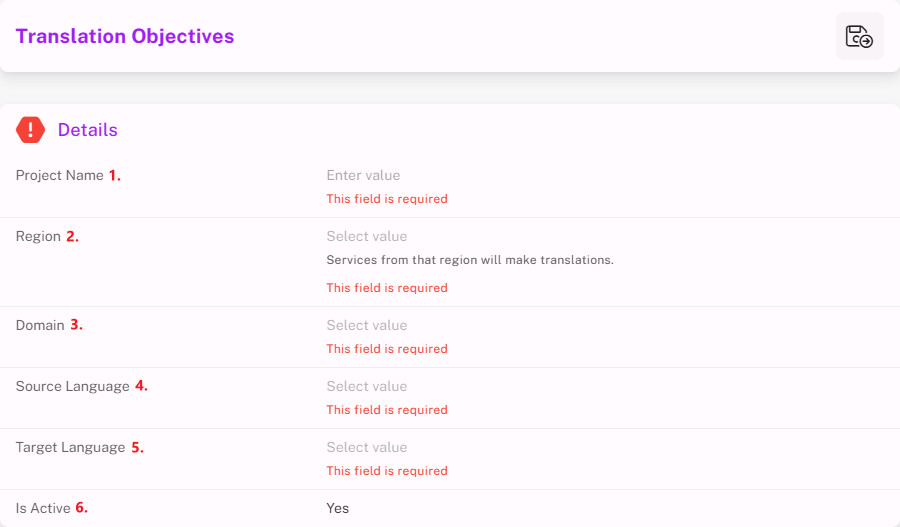
- Project Name – Name of the Translation Objective.
- Region – Closest processing region for performance.
- Domain – Subject matter domain.
- Source Language – Language of original content.
- Target Language – Language to translate into.
- Is Active – Defaults to “Yes”; can be set to “No” later.
IMPORTANT: After saving, only the Project Name and Is Active fields can be modified.
- Save to return to the objectives list.

Create a Basic Document Translation
- From the project dashboard, go to Basic Translations -> Document Translation in the ACTIONS menu.
- Complete the form.
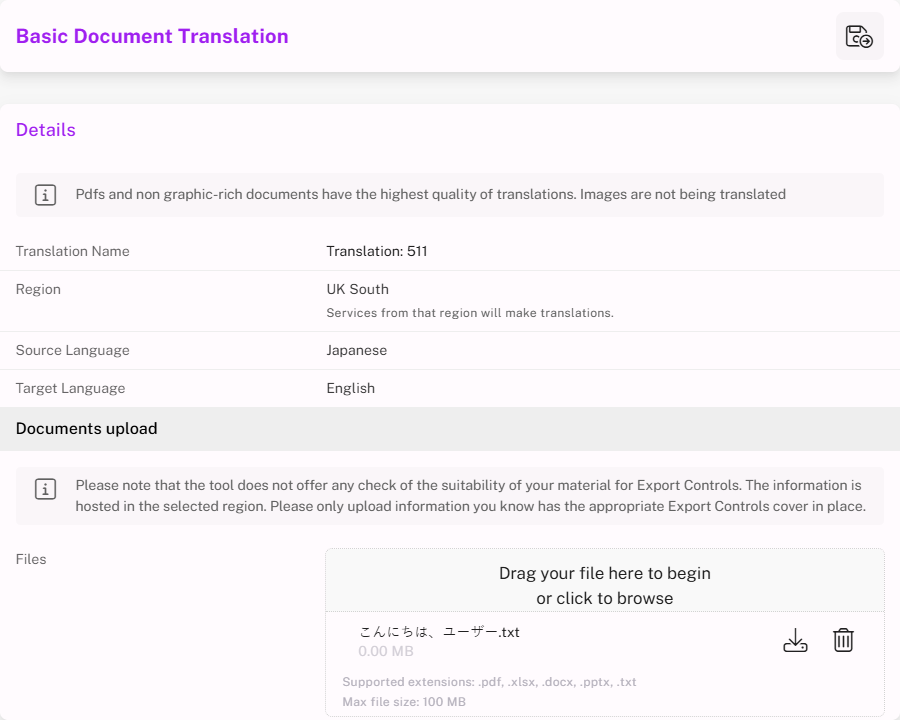
Example: Uploading
こんにちは、ユーザー.txt("Hello, user").
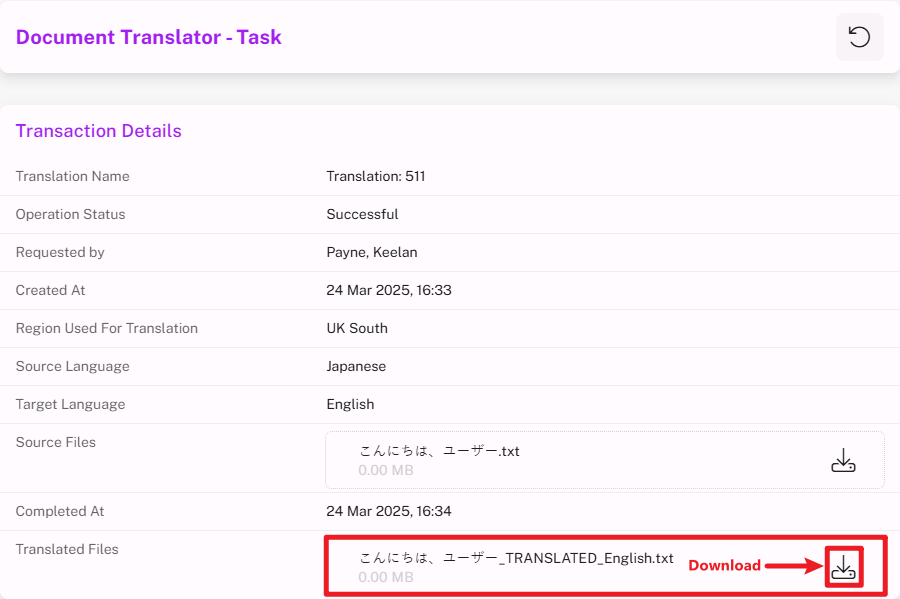
- Save and wait for processing.

- Download the translated file once ready.
Create a Basic Free Form Text Translation
- From the project dashboard, go to Basic Translations -> Free Form Text Translation in the ACTIONS menu.
- Enter text and click TRANSLATE.
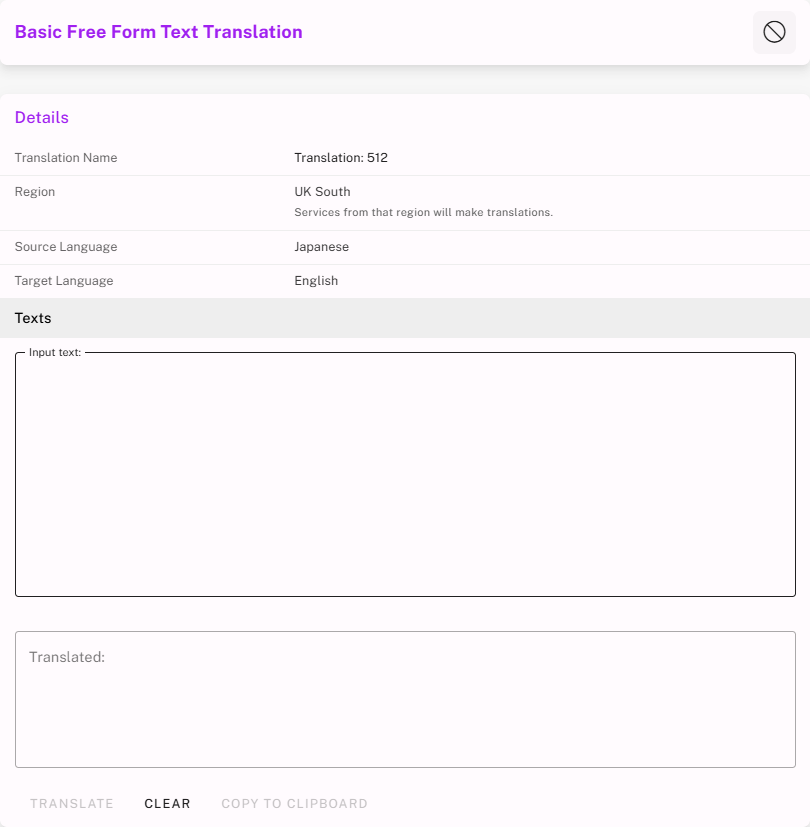
- The translated output appears below.
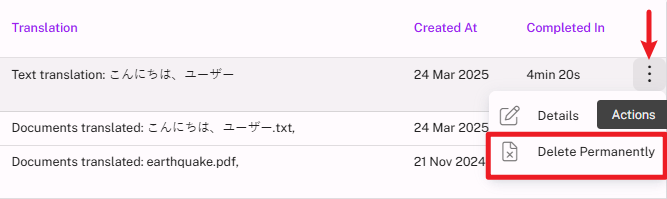
Delete Translation Records
- Use the vertical ellipses (⁝) for a single record.
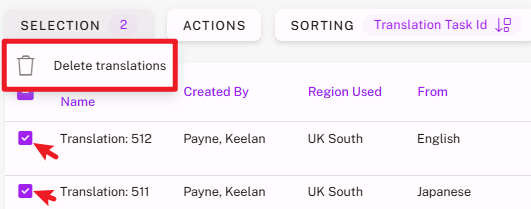
- Select multiple records, then click SELECTION → Delete in bulk.
Additional Functionality
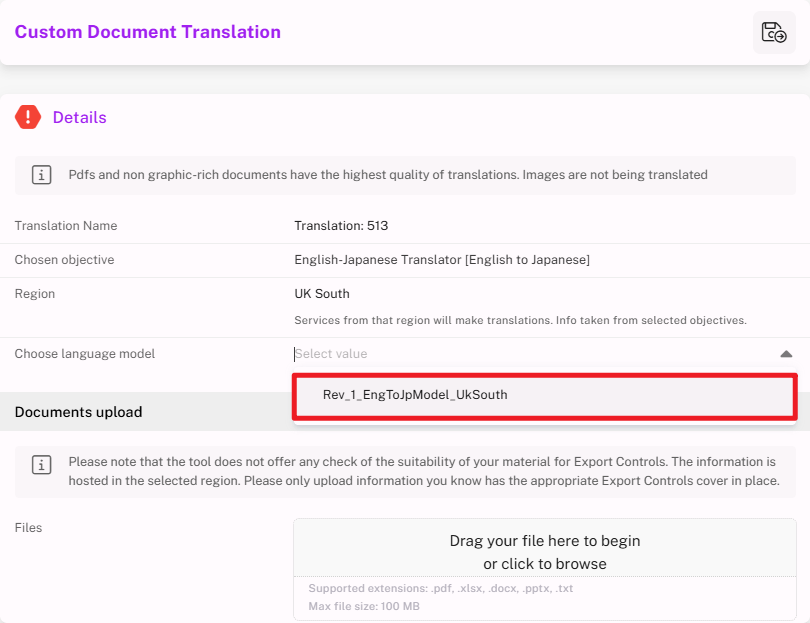
Custom Document Translation
Custom Translations follow the same process as Basic, but require selecting a Model from a Translation Objective.
Exporting Translation Details
From the Translations search page, select Export Details (Excel) from the ACTIONS menu to download a file containing metadata of past translations.
